My Russian Manicure and Nail Prep Routine on a Real Salon Client
This is my Russian Manicure and nail prep routine on a real, paying salon client, not a model and not a staged demonstration. It is the manicure and preparation part of a longer builder gel infill appointment, and I show it exactly as I do it in the salon: not an Instagram model, and not a demonstration.
The video is on my official YouTube channel, Radina Ignatova | Nail Academy. This article walks through the routine and explains why I make each decision, including the cautions that matter. If you have not seen it yet, start with why you must open the cuticle pocket before using a flame bit.
Quick Answer: How Long Do Russian Manicure and Nail Prep Take on a Real Salon Client?
On a real salon client, and for my regular clients in general, Russian Manicure and nail prep together normally take me about 10 to 15 minutes, depending on the client. New clients can take longer. In a working salon the aim is not a perfect macro photograph. It is to clean the pocket and the true cuticle from the nail plate enough to give long-lasting nails, without unnecessary work on living tissue, then prepare the nail plate so the product can adhere.
From Artistic Touch – Nail Training Academy
Want to learn this properly? Explore my online nail courses
Explore Russian Manicure – Beyond Technique and the Nail Prep – Adhesion & Retention course.
Watch the Video: Russian Manicure and Nail Prep on a Real Client
The video covers the whole routine. These are the parts I would watch first:
- Opening the cuticle pocket first (0:18)
- How long it takes in the salon: 10 to 15 minutes (1:51)
- Working in reverse, and why to be cautious (3:35)
- Why salon manicures are not Instagram manicures (6:15)
- Nail prep with the mini mandrel (8:03)
- Dehydrator, non-acid primer and flexible base coat (13:09)
A Real Salon Client, Not a Demonstration
This is a real, paying salon client in a real appointment, and everything you see is what I do in the salon. It is not an Instagram model and it is not a demonstration. I am showing only the Russian Manicure and nail prep part. The rest of the appointment, the builder gel infill with dual forms, is in Infills With Dual Forms in 64 Minutes.
With real salon clients, how long you spend depends on the client. I normally take anything from 10 to no more than 15 minutes for the manicure and the nail prep together. With some new clients it can be longer, but 10 to 15 minutes is completely normal for me.
Step 1: Open the Cuticle Pocket
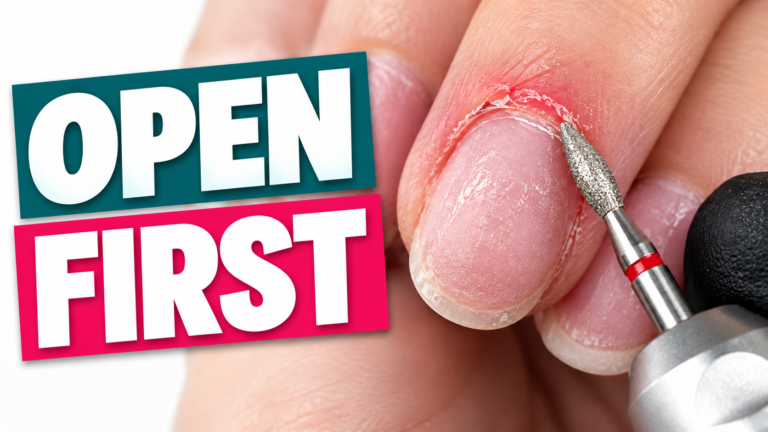
I start by opening the cuticle pocket. I have said this in my previous videos, such as why you must open the cuticle pocket before using a flame bit, and I will say it again: opening the pocket is crucial, and it is a must. We open it because we need room, without damaging tissue, to go underneath and work with the flame bit. It must be opened completely, so that I can safely clean the true cuticle later with the drill bit.
I explain this step in depth in why you must open the cuticle pocket before using a flame bit.
Step 2: Remove the True Cuticle and Dry Skin With the Flame Bit
I use a red abrasive flame bit. I work forward, cleaning the left side of the cuticle pocket, and I also go onto the fingertips and the sides. At this stage I am removing the true cuticle from the nail plate, and any dry skin from the sides of the finger, so that the client has a nice feeling after the manicure, with nothing rigid or rough to pick at.
We are into the winter months, and there is more dry skin, so I spend slightly more time on the manicure. Then I switch the e-file to reverse and work on the right sides of the pocket in the same way.
| Stage | What I do |
|---|---|
| Forward | Work the left side of the pocket, the fingertips and the sides |
| What I am removing | The true cuticle from the nail plate, and dry skin from the sides of the finger |
| Reverse | Work the right sides of the pocket |
| Then the other hand | Repeat the same movements |
A Caution About Opening the Pocket Further With the Bit
At one point I use the drill bit to open the pocket just a little more. You must be very careful when you do this. You turn the pocket in a particular way, you need to be quite experienced, and you cannot do it with every single client. So be more cautious.
If you are unsure how far to go, read when should you stop during Russian Manicure and what changes with a shallow cuticle pocket. I teach the complete technique, with different skin and cuticle types, in Russian Manicure – Beyond Technique.
Salon Russian Manicure Is Not an Instagram Manicure
In a salon we do not do everything you see on Instagram. We are not spending two or three hours cleaning the pocket in great detail. Firstly, it is not very healthy. Secondly, your time on that chair is your money: you could fit two clients into the same time.
Your client does not go home and look under her pocket to see whether a tiny bit is left. My goal with salon clients is not to film perfect micro shots. It is to clean the pocket and the true cuticle from the nail plate enough to give long-lasting nails. It also lets me push the gel, or the gel polish, under the pocket as much as possible.
For the principle behind this, read Russian Manicure is not about removing more cuticle and what actually makes Russian Manicure look clean.
Learn it step by step. This is one part of what I teach in my online nail courses. Inside them I teach the full method with real salon demonstrations, so you can make these decisions on your own clients.
Explore the courses →Step 3: Nail Prep With the Mini Mandrel
Here I also show my signature nail prep, which I cover in my Nail Prep – Adhesion & Retention course. I prep the nail plate with my mini mandrel. I use it after smoothing and removing any little bits. For an infill, I smooth any lifted bits of the old product, so that the new infill does not start lifting.
I use the mini mandrel because it goes right into the corners, and I do not like the original, larger ones for that reason.
When I work with the mandrel on natural nails, I am not pressing at all, and I must stress this. I only want to edge the new regrowth, without over-filing the nail plate. I only want to create adhesion later.
To understand why nails lift even after preparation, read what is nail retention, why your BIAB still lifts even after training, and the wrong nail prep brush and lifting.
Step 4: Remove Lifted Skin and Polish the Cut
There was not much to cut on this client, so I used my nippers to remove the lifted skin. My Russian Manicures are not aggressive. I do not go deep into the proximal nail fold, and we should never cut into it. We only remove dry, lifted skin, nothing more. On some clients I remove very little, and on some, like this one, quite a lot, depending on what came up with the flame bit. The goal is not to cut as much skin as possible.
The next step is to polish the cut. I do this because I do not want flaky bits later, which can turn backwards when a cut was not clean. I refine the sides and any small imperfections with a medium silicone polisher with a slightly pointed tip, working forward and in reverse. The movements are pretty much the same, and the aim is a beautiful manicure that lasts for weeks.
Step 5: Dehydrator, Brush, Primer and Base Coat
I spray the nails with nail prep and dehydrator, and use a slightly coarse brush to remove debris and dust. You cannot use this brush movement with every client. With sensitive clients I do not recommend it, because the brush can be too coarse and make them bleed.
After dehydrating, the nail plate should look whitish, like a charcoal colour, with no debris left on it at all.
Then I apply a very thin coat of non-acid primer, and I do not touch the skin with it. Then I apply a very thin layer of base coat, and I always use a flexible base coat. A flexible base coat absorbs the shock, and the product on top is less likely to break.
I always use a base coat, even if the system says 3-in-1, because otherwise you will stain the nail plate. A base coat also gives your clients more long-lasting results, and makes the nails less likely to break if they knock them in daily life.
| Step | What I do | Why |
|---|---|---|
| Dehydrator and brush | Remove debris and dust; the plate turns whitish | No debris left on the plate |
| Non-acid primer | A very thin coat | Applied without touching the skin |
| Flexible base coat | A very thin layer, every time | Absorbs shock, so the product on top is less likely to break |
| Base coat with 3-in-1 systems | Still apply it | Otherwise you stain the nail plate |
Where to Learn the Complete Routine
This is a deeper understanding of the routine, with proper explanations of why each decision is made, rather than a general tutorial that only shows steps. I teach the complete Russian Manicure in Russian Manicure – Beyond Technique: the exact movements, anatomy, speed, pressure and stretching, with different skin and cuticle types, and educator feedback. My complete nail preparation system, and why your nails might not last, is in the Nail Prep – Adhesion & Retention course. You can also browse all online nail courses.
Russian Manicure – Beyond Technique
Learn the exact movements, anatomy, speed, pressure and stretching, and how to adapt to different skin and cuticle types, with educator feedback.
View the Course Details →Frequently Asked Questions
Is this a real salon client?
Yes. It is a real, paying salon client in a real appointment. I show only the Russian Manicure and nail prep part, and the builder gel infill with dual forms is in Infills With Dual Forms in 64 Minutes.
How long does a Russian Manicure take in a salon?
For my regular clients, Russian Manicure and nail prep together normally take about 10 to 15 minutes, depending on the client. New clients can take longer.
Why not spend hours cleaning the cuticle pocket?
It is not very healthy, and your time in the chair is your money, so you could fit two clients into the same time. The goal is to clean the pocket and the true cuticle enough to give long-lasting nails, not to film perfect micro shots.
How much cuticle skin do you cut in a Russian Manicure?
Only dry, lifted skin. My Russian Manicures are not aggressive. I do not go deep into the proximal nail fold, and we should never cut into it.
Why do you polish the cut after nippers?
To avoid flaky bits later, which can turn backwards after an improper cut. I refine the sides with a medium silicone polisher with a slightly pointed tip.
Why use a mini mandrel for nail prep?
It goes right into the corners. I do not press at all when I use it on natural nails. I only edge the new regrowth, without over-filing the nail plate, so that adhesion can be created.
What should the nail plate look like after dehydrating?
Whitish, like a charcoal colour, with no debris left on the plate.
Should I use a base coat if my system says 3-in-1?
Yes. I always use a base coat, because otherwise you will stain the nail plate, and a flexible base coat gives more long-lasting results.
Is it safe to open the pocket further with the drill bit?
It needs care. You need to be quite experienced, and you cannot do it with every client, so be cautious. The coarse brush movement is also not suitable for sensitive clients.
Where can I watch the full video?
‘My Russian Manicure & Nail Prep Routine | Real Salon Client’ is on Radina Ignatova | Nail Academy, the official YouTube channel of Artistic Touch – Nail Training Academy. It is embedded at the top of this article.
Key Takeaway
In a working salon, Russian Manicure and nail prep are about doing enough, safely: open the pocket, clean the true cuticle from the nail plate, remove only dry lifted skin, prepare the plate without pressing, and finish with a thin primer and a flexible base coat. Time in the chair is money, and the aim is long-lasting nails, not a perfect macro photograph.
Learn the Complete Routine and the Why Behind It
Explore Russian Manicure – Beyond Technique and the Nail Prep – Adhesion & Retention course.
Explore Online Nail Courses →💬 FREE WHATSAPP COMMUNITY
Discuss real nail challenges, ask questions and submit case studies for a chance to be featured on my YouTube channel with educational feedback.
Request future video topics, share your experiences and be first to hear about professional insights, new courses and promotions.
Join Artistic Touch Insiders on WhatsAppAbout the Author
Professional Nail Expert | International Nail Educator
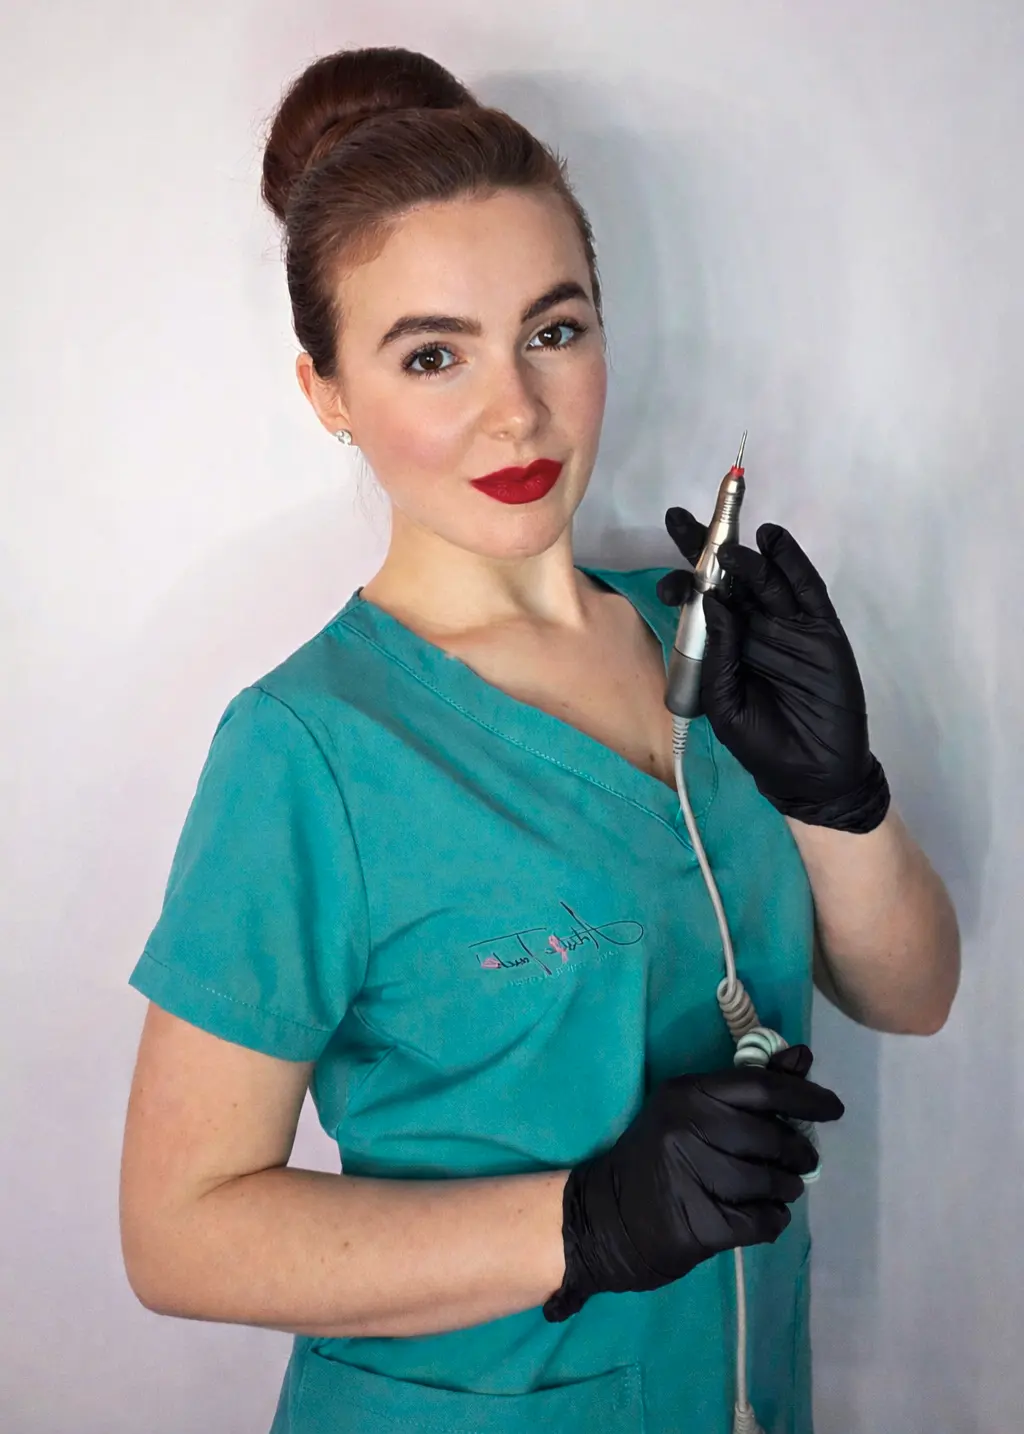
I am Radina Ignatova, a Professional Nail Expert since 2014 and International Nail Educator, based in Scotland, UK. I am the Founder of Artistic Touch – Nail Training Academy and TheNailWiki.
At Artistic Touch – Nail Training Academy, I provide structured professional online nail education specialising in dual forms, nail preparation and retention, nail structure, E-File work and Russian Manicure, with a strong focus on professional salon safety. I continue to work actively in salon practice, ensuring that all education reflects real client scenarios and current industry standards.
My teaching philosophy is simple: I show real salon challenges, real mistakes and real performance testing, not just perfect demonstrations. This is how you develop genuine technical competence and become a confident, capable nail professional.