Russian Manicure Step by Step — But Not the Way You Expect
This is a genuine walkthrough of a Russian Manicure I performed on my own nails. Every step is shown, but this is not intended as a copy-and-repeat tutorial. What matters more than the sequence itself is the reasoning behind each decision, because no two Russian Manicures should look identical when the anatomy in front of you is different.
Why This Walkthrough Is Different
Every step shown here reflects a decision made for this specific set of nails on this specific day, not a fixed routine to copy. Opening the pocket properly before using any e-file, choosing the right bit for the tissue in front of you, and knowing when to stop refining all matter more than following an identical sequence every time.
Opening the Pocket Before Anything Else
The first step is opening the cuticle pocket fully, before the flame bit is switched on at all. This sounds obvious, but it is one of the most commonly skipped steps seen in tutorials and social media demonstrations, where professionals go straight in with the flame bit before the pocket has been opened.
Working with an unopened proximal nail fold is a damaging technique. The pocket needs to be opened properly first, checked to confirm it is genuinely working, and only then should the electric file come into use.
Choosing an Unconventional Bit for the Job
Rather than the traditional flame drill bit, a straight bullet-shaped bit was used here, still a flame drill bit, but noticeably larger and shaped differently. This bit gets the job done faster, but it is not the right choice for every cuticle pocket. Bit selection depends on what the specific pocket in front of you needs, not on defaulting to the same shape every time.
Thoroughness Matters More Than Speed
On this particular day, there was very little true cuticle to clean, since the previous manicure had only been done two weeks earlier. Even so, the goal was to open the pocket further and clean anything that could cause lifting later on, working thoroughly rather than rushing simply because the surface already looked reasonably tidy.
Being genuinely thorough, removing anything that could catch, lift, or become a problem later, applies whether you are working on a client or on your own nails. Skipping this because a manicure “does not look too bad” is a common shortcut that tends to catch up with the result within a week or two.
Switching Abrasiveness for Rough Skin
Where the surrounding skin is rougher, switching to a coarser abrasive band, and using the body of the drill bit rather than the tip, covers a wider area more efficiently along the sides. This is a deliberate adjustment based on what the tissue actually needs that day, not a fixed setting used regardless of condition.
Extreme Caution When Prepping the Natural Nail Plate
Using a mini mandrel to prep the natural nail plate requires real restraint. This tool acts essentially as a sanding band in place of hand filing, and no pressure should be applied at all.
Filing the nail plate aggressively, going in deeply and removing layers, is a pattern worth avoiding entirely. Beyond the immediate risk of irritation or sensitisation, removing too much of the nail plate also affects how well product can grip afterwards, since there is simply less surface for it to hold onto.
Less Is Usually More Here
Nail plate preparation should remove just enough to prepare the surface for adhesion, not strip layers away in pursuit of extra shine or a more “sanded” feel. Over-preparation weakens the very surface you are relying on for retention.
Scissor Work: Minimal and Intentional
On this occasion, there was very little to actually cut. Some Russian Manicures need no cutting at all, only exfoliation, depending entirely on what the goal is and what the client’s anatomy allows. The cuts made here were deliberately small, because that is what the tissue required that day, nothing more.
No living tissue was touched during this step, and there was no bleeding. That is the standard to work towards: a clean, deliberate cut, followed by refinement, not an aggressive removal of as much tissue as possible.
Refining Without Overworking the Tissue
Many nail professionals refine the cut using a Russian ball or cone-shaped bit. This is deliberately avoided here, because that shape can move into the proximal nail fold too easily and damage living tissue that did not need to be touched at all.
A medium silicone polisher on a low speed is used instead, to exfoliate and smooth the cut without that risk. Even this stage can be overdone. Knowing where to stop depends on the client’s specific skin type and cuticle condition, not on a fixed number of passes.
Why This Step Prevents Problems Later
Properly refining the cut is not purely cosmetic. If this stage is rushed or skipped, the edge of the worked area can begin to flake as the manicure grows out, depending on the technique used. Taking the time to refine properly here reduces the likelihood of that happening.
Adapting the Approach, Not Repeating It
What is shown in this walkthrough is the approach used on this particular set of nails, on this particular day. It will not look identical the next time, because Russian Manicure is fundamentally about learning to adapt to what is actually in front of you, not repeating one fixed sequence indefinitely.
If you want to understand how to assess what you are looking at, adapt your approach accordingly, and understand the reasoning behind each decision rather than simply copying steps, that reasoning is exactly what Russian Manicure – Beyond Technique is built to teach, alongside the decision-making, pricing and marketing knowledge that surrounds the technical skill itself.
Key Takeaway
Every decision shown here, from opening the pocket first to choosing when to stop refining, was made for this specific set of nails. A Russian Manicure walkthrough is a demonstration of decision-making, not a fixed sequence to reproduce identically on every client.
Want to Understand the Reasoning, Not Just the Steps?
Russian Manicure – Beyond Technique teaches the decision-making behind every movement, tool and adaptation shown in this walkthrough.
See Full Course Details →About Radina Ignatova and Her Teaching Philosophy
About the Author
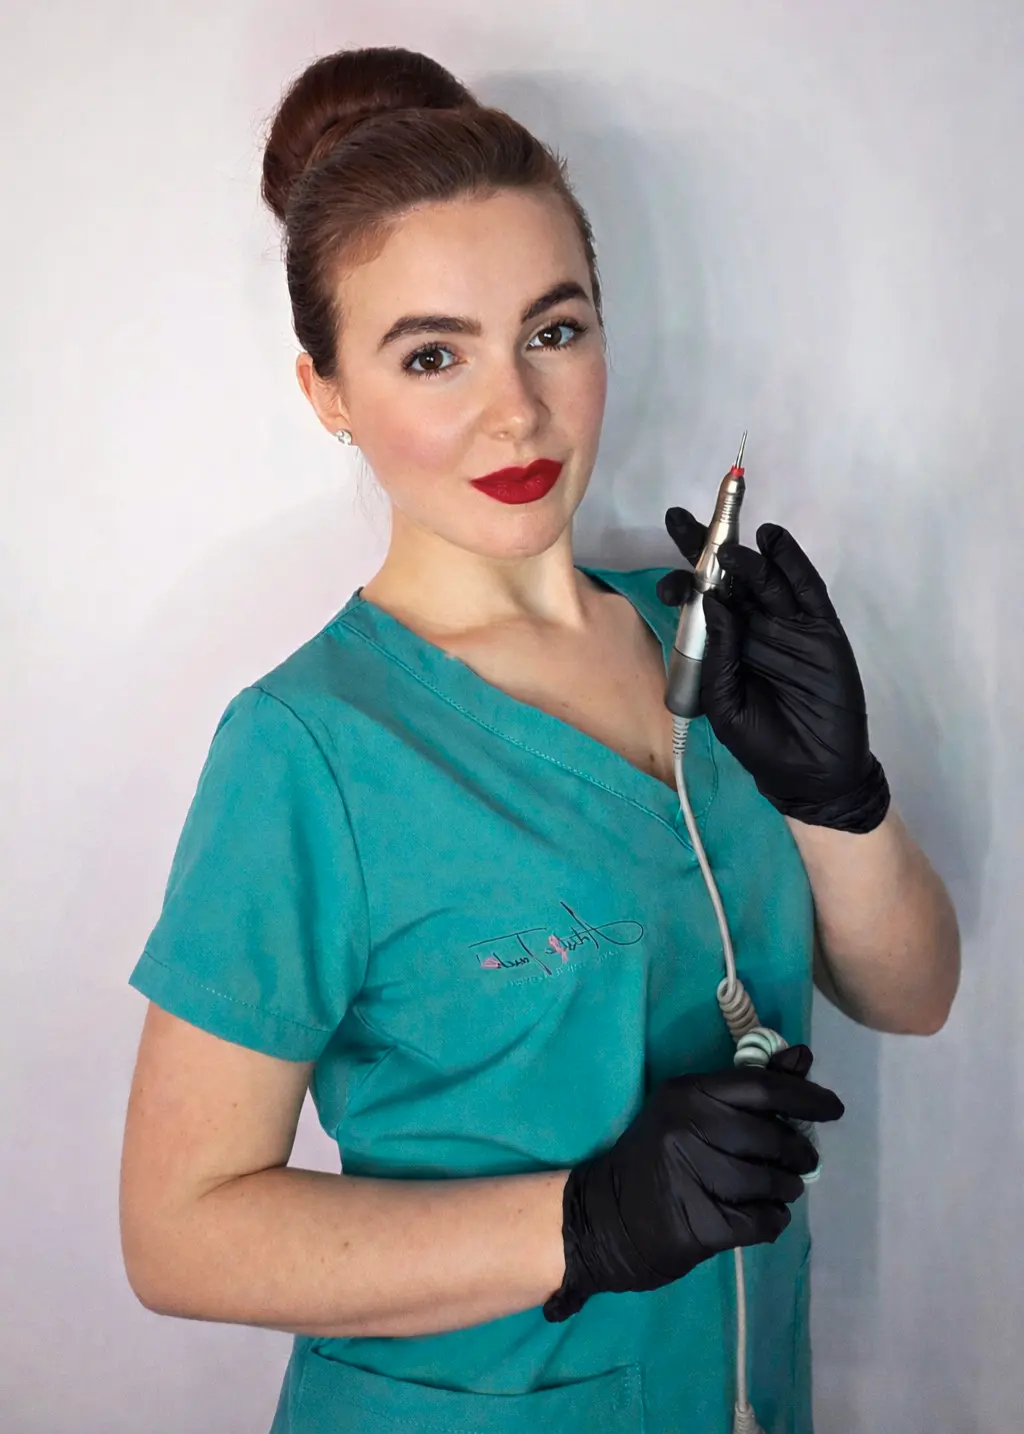
Radina Ignatova
Professional Nail Expert | International Nail Educator
I am Radina Ignatova, a Professional Nail Expert since 2014 and International Nail Educator, based in Scotland, UK. I am the Founder of Artistic Touch Nail Training Academy and TheNailWiki.
At Artistic Touch Nail Training Academy, I provide professional online nail courses specialising in dual forms, gel systems, polygel application, advanced nail structure, E-File work and Russian Manicure, with a strong focus on professional salon safety. I continue to work actively in salon practice, ensuring that all education reflects real client scenarios and current industry standards.
My teaching philosophy is simple: I show real salon challenges, real mistakes and real performance testing, not just perfect demonstrations. This is how you develop genuine technical competence and become a confident, capable nail professional.
Frequently Asked Questions
Is it ever acceptable to skip opening the cuticle pocket first?
No. Working with the flame bit before the pocket has been properly opened is a damaging technique, regardless of how experienced the technician is or how the client’s nails currently look.
Does every Russian Manicure require cutting with scissors?
No. Some Russian Manicures require no cutting at all, only exfoliation. Whether cutting is needed depends entirely on the client’s anatomy and what the goal of that particular appointment is.
Why avoid Russian ball or cone-shaped bits for refinement?
These shapes can move into the proximal nail fold more easily than intended, risking damage to living tissue that did not need to be worked on. A medium silicone polisher on a low speed achieves the same smoothing with less risk.
What happens if nail plate preparation is too aggressive?
Removing too many layers of the nail plate can increase the risk of irritation and sensitisation, and also reduces the surface available for product to grip onto, which affects retention.
Should I use the exact same bit for every client’s cuticle pocket?
No. Bit shape and size should be selected based on what the specific pocket requires, not defaulted to the same choice regardless of the client’s anatomy.
Ready to learn the decision-making behind every step, not just the steps themselves? See the Russian Manicure online course →
Coming Soon: Russian Manicure Free Course
A foundational free course on Russian Manicure basics and anatomy understanding is coming to Artistic Touch Nail Training Academy. Check back soon.
Disclaimer: This content is for professional nail technician education purposes only. Nail services should be performed by trained professionals following current hygiene and safety regulations. Russian Manicure is not risk-free and requires proper anatomical understanding and training.
About Artistic Touch Nail Training Academy
Artistic Touch Nail Training Academy delivers professional online nail education focused on practical skill development, professional standards and safe salon practice. All courses are available online worldwide with lifetime access.