Why Cuticle Oil Is Ruining Your Nail Photos
You can perform the most beautiful manicure in the salon, and it can still look terrible in a photograph, simply because of what is sitting on the skin when the picture is taken. Cuticle oil, applied heavily as the old standard finishing step, is one of the most common reasons nail photography ends up looking outdated rather than polished.
Why Oil and Photography Do Not Mix
Cuticle oil sits on top of the skin and pools at the base of the nail, near the eponychium. Under camera lighting, this creates flashback, a greasy shine, and the illusion of a gap between the skin and the nail plate, all of which make a genuinely excellent manicure look outdated in photographs.
The Old Standard, and Why It Persists
For many years, applying a generous amount of cuticle oil as a finishing step has been the standard, and it is easy to keep doing this without questioning it, particularly since moisturising the skin genuinely matters, especially after a more involved service such as Russian Manicure or extensive cutting.
The issue is not that oil is unnecessary. The issue is applying it before photographing the result, rather than after.
What Actually Happens Under the Camera
Heavily oiled skin creates flashback the moment a photograph is taken, that unwanted shine or glare caused by light reflecting off the oil. It also leaves visible greasy patches on top of the nails themselves, which pulls attention away from the manicure and makes the overall image look dated rather than polished.
More specifically, oil tends to sit and pool near the eponychium, at the base of the nail. In close-up or macro photography, this creates the illusion of a gap between the skin and the nail plate, an effect that has nothing to do with the actual quality of the manicure underneath it.
Not All Oils Behave the Same Way
Absorption speed varies between products. Some cuticle oils absorb relatively quickly, while others sit on the surface for considerably longer and appear greasier in photographs as a result. If photography quality matters to your business, it is worth paying attention to how a particular oil behaves under camera lighting, not only how it feels or smells.
The Simple Fix: Photograph First, Oil After
The solution is straightforward and does not require giving up cuticle oil at all. Take your photographs first, using a clean finishing step such as a foaming micellar water pump rather than oil, and apply cuticle oil afterwards, before the client leaves the chair.
If you have not seen how to set up an inexpensive foaming micellar water pump for exactly this purpose, it is covered step by step in How to Make the Viral Nail Photography Foam on a Budget.
The Order Matters
Clean, oil-free skin for the photograph. Moisturised, oiled skin for the client leaving the chair. The two goals are not in conflict, they simply need to happen in the right sequence.
Why This Matters More Than It Used To
Modern nail photography increasingly leans towards close-up, detailed imagery that shows the manicure clearly, rather than styled shots designed to disguise imperfections. In this environment, visible detail is an advantage for a technician confident in her work, but only if the presentation does not undermine it.
Clients scrutinise the images they see on Instagram and Facebook closely. A genuinely excellent manicure, presented through outdated, overly oiled photography, can still cost bookings, simply because the image does not reflect the quality of the work underneath it.
Key Takeaway
Cuticle oil and nail photography are not incompatible, but the order matters. Photograph the manicure with clean, oil-free skin, then apply cuticle oil afterwards. This protects both the moisturising benefit for the client and the quality of the images you use to attract new bookings.
Want to Improve Your Nail Photography Further?
The free nail photography masterclass covers practical techniques for presenting your work clearly and professionally.
Access the Free Masterclass →About Radina Ignatova and Her Teaching Philosophy
About the Author
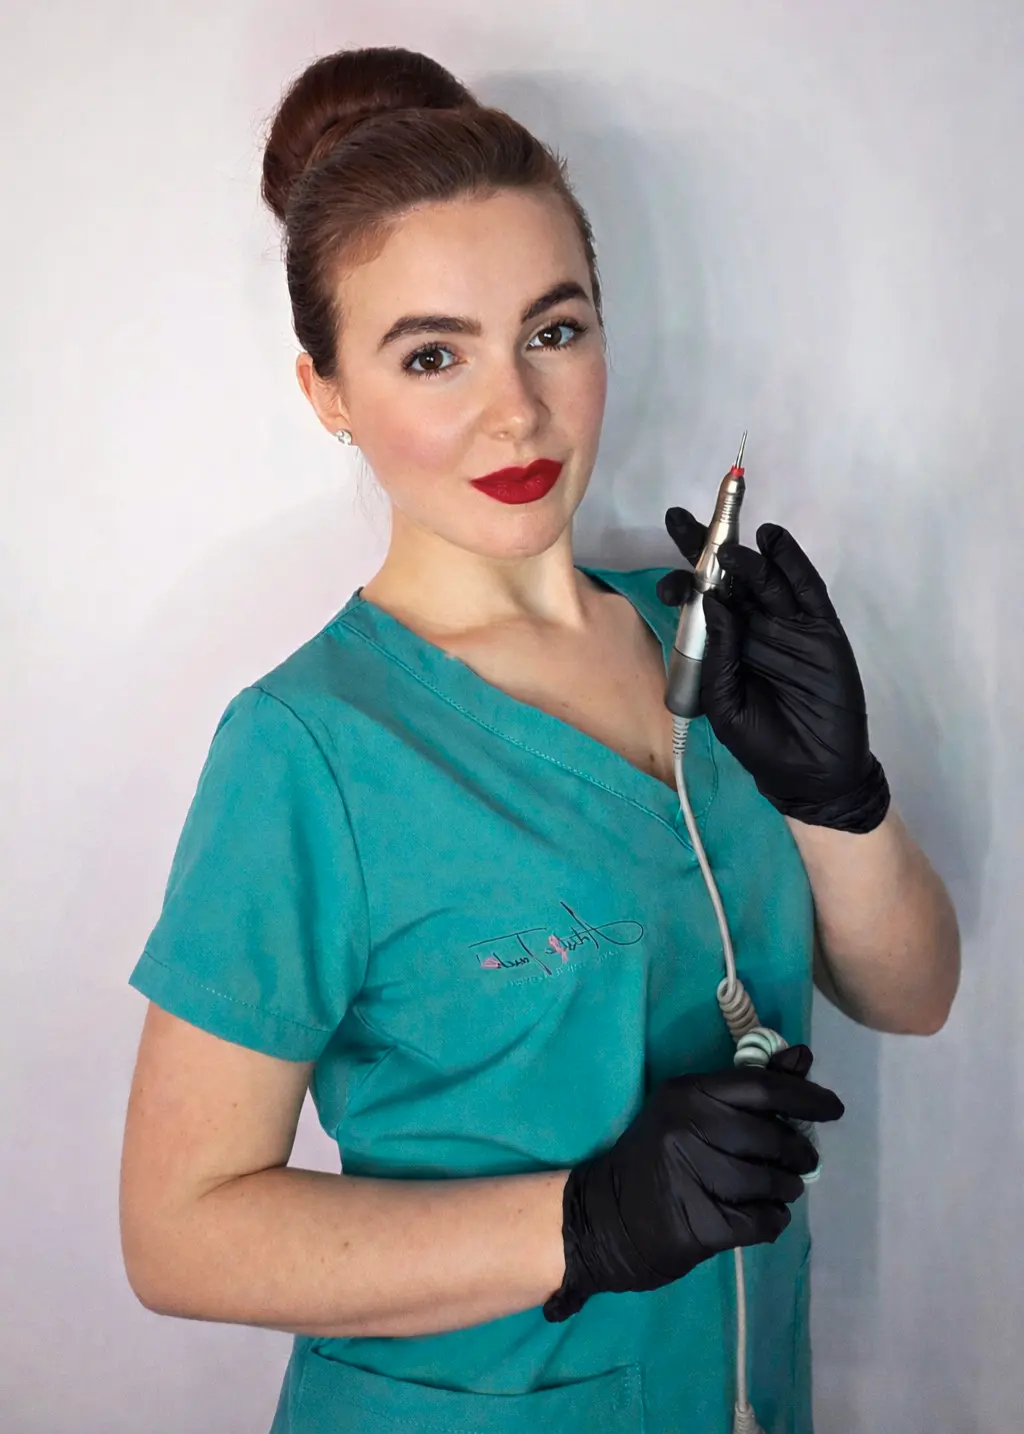
Radina Ignatova
Professional Nail Expert | International Nail Educator
I am Radina Ignatova, a Professional Nail Expert since 2014 and International Nail Educator, based in Scotland, UK. I am the Founder of Artistic Touch Nail Training Academy and TheNailWiki.
At Artistic Touch Nail Training Academy, I provide professional online nail courses specialising in dual forms, gel systems, polygel application, advanced nail structure, E-File work and Russian Manicure, with a strong focus on professional salon safety. I continue to work actively in salon practice, ensuring that all education reflects real client scenarios and current industry standards.
My teaching philosophy is simple: I show real salon challenges, real mistakes and real performance testing, not just perfect demonstrations. This is how you develop genuine technical competence and become a confident, capable nail professional.
Frequently Asked Questions
Should I stop using cuticle oil altogether?
No. Cuticle oil still has genuine value for moisturising the skin, particularly after a more involved service. The issue is timing, not the product itself. Apply it after photographs are taken, not before.
Why does oil create the appearance of a gap near the cuticle?
Oil tends to pool at the base of the nail, near the eponychium. Under close-up or macro photography, this pooling can visually read as a gap between the skin and the nail plate, even though no such gap exists in the actual manicure.
Do all cuticle oils cause the same problem?
Not to the same degree. Some oils absorb faster than others, and slower-absorbing formulas will generally appear greasier in photographs. It is worth being aware of how your chosen product behaves under camera lighting.
Does this only matter for professional photography, or everyday client photos too?
It applies to any photo you intend to use for marketing or your portfolio, whether taken with a professional camera or a phone. The same flashback and pooling issues occur regardless of the equipment used.
Want your photography to match the quality of your technical work? Access the free masterclass →
Disclaimer: This content is for professional nail technician education purposes only and reflects general photography and presentation guidance.
About Artistic Touch Nail Training Academy
Artistic Touch Nail Training Academy delivers professional online nail education focused on practical skill development, professional standards and safe salon practice. All courses are available online worldwide with lifetime access.