Your Nail Photos Might Be Costing You Clients: Why Professional Presentation Matters
Your work is beautiful. Your nails last. Your clients are happy. But nobody is booking you.
The problem might not be your technique. The problem might be your photos.
In a digital world, your photos are your first impression. They are what clients see on Instagram, on Google, on your website, before they ever meet you. If those photos do not show your work at its best, clients assume your work is not at its best.
This article explains why nail photography matters, how poor photos cost you clients, and how modern tools like AI can help you present your work professionally.
Why Your Nail Photos Matter More Than You Think
Your photos are your digital salon. They show potential clients what they can expect. Poor lighting, wrong angles, colour distortion, or cluttered backgrounds communicate that your work is not professional. Even if your technique is excellent, bad photos make clients doubt your skill.
Professional nail photography takes technique, lighting, positioning, and post-production. But you do not need expensive equipment or a photographer. Modern AI tools can improve your photos dramatically, making your work shine the way it deserves to.
Your Photos Are Your First Impression
When a potential client finds you online—on Instagram, on Google, on your website—they do not call to discuss your technique. They look at your photos.
In those first seconds, they make a decision: Does this technician’s work look professional? Does it look like something I want on my nails? Can I trust this person with my hands?
Your actual skill does not matter if your photos do not show it. A poorly photographed nail set, no matter how technically perfect, will lose clients to a competitor with mediocre technique but professional photos.
This is not fair. But it is reality in a visual industry. Your photos are your salon’s appearance. They set expectations. And first impressions matter.
The Photography Gap
Many skilled nail technicians struggle to book clients not because of their technique, but because their photos do not reflect their technique. They have a professional skill gap that prevents their professional work from being seen as professional.
How Poor Nail Photos Cost You Clients
Bad lighting makes colours look wrong, details disappear, and nails appear dull. Fluorescent salon lighting does not photograph well. Natural light is complicated. Without proper lighting, your best work looks mediocre.
Wrong angles hide your design work. A photo taken straight-on hides dimension. A photo with your hand awkwardly positioned makes the work look clumsy. The viewer does not know why the nails do not look impressive—they just do not.
Colour distortion is common in phone photography. Your rose gold nails look orange. Your nude nails look yellow. Your matte finish looks streaky. Clients expect to see accurate colours. Inaccurate photos suggest you cannot deliver.
Cluttered backgrounds compete with your work. A busy salon background, a messy desk, a hand with visible lint or imperfections—these details distract from the nails. Professional photos isolate the nails so nothing else claims attention.
Inconsistent presentation creates doubt. If some of your photos are beautiful and others are mediocre, clients wonder: Which quality am I getting? Will my nails look like the good photos or the bad ones? Inconsistency erodes confidence.
No before-and-afters miss an opportunity. Clients want to see transformation. Before-and-after photos show what you can do. They build desire and confidence.
⚠️ The Silent Booking Loss
Most clients do not tell you why they do not book. They just scroll past your photos and book someone else. You never know that poor photography cost you that client.
What Makes Professional Nail Photography
Proper lighting is the foundation. Professional nail photography typically uses natural light, diffused light, or professional lighting rigs. The light reveals colour accurately, shows dimension, and makes nails sparkle.
Strategic positioning shows the nails at the most flattering angle. Fingers angled to show design work. Hand positioned to show dimension and shape. Movement sometimes used to show how the nails catch light.
Background control isolates the nails. Plain backgrounds, soft blurred backgrounds, or minimal styling keeps focus on the work. Everything in the frame should serve the nails.
Colour accuracy represents your actual work. The colours you photograph must match what you created. This requires proper white balance, correct camera settings, and sometimes post-production colour correction.
Consistency across your photos creates a professional portfolio. Similar lighting, similar backgrounds, similar styling means clients see a curated collection, not a random pile of photos.
Post-production refinement enhances without deceiving. Colour correction, brightness adjustment, sharpening, removing minor blemishes—these improve the photo without hiding what clients will actually see.
Why Most Nail Technicians Do Not Have Professional Photos
Photography is not your trade. You are a nail technician, not a photographer. You did not train in lighting or camera settings. You do not own professional equipment. And you do not have time to learn.
So your photos come from your phone, taken quickly between clients, with whatever lighting is available, posted without editing. They do their job: they show the nails exist. But they do not show your work at its best.
Hiring a professional photographer is expensive. Purchasing professional equipment is prohibitive. Learning photography properly takes months. So most nail technicians accept mediocre photos because the alternatives feel impossible.
But there is a middle path: using modern AI tools to improve the photos you can easily take yourself.
How AI Tools Can Improve Your Nail Photography
Artificial intelligence has made professional photo editing accessible to everyone. AI tools can now do what previously required professional photographers or expensive software.
Lighting enhancement — AI can brighten underlit photos, improve shadow detail, and reveal colours that were lost in poor lighting. A photo taken in your salon can be enhanced to look like it was shot in professional lighting.
Background removal and replacement — AI can instantly remove cluttered backgrounds and replace them with clean, professional ones. You do not need a studio—AI creates the studio effect.
Colour correction — AI adjusts white balance, saturation, and tone to make colours accurate and beautiful. Your rose gold actually looks rose gold. Your matte finishes look matte.
Detail enhancement — AI sharpens details, reveals texture, and makes finishes pop. Sparkles become more sparkly. Dimension becomes more dimensional.
Consistency creation — By editing multiple photos with the same settings, AI helps you create a cohesive portfolio aesthetic. Every photo looks like it belongs to the same professional.
Before-and-after creation — AI can enhance before photos and after photos in coordinated ways so they tell a compelling transformation story.
The AI Advantage
AI does not replace your skill. It reveals your skill. It takes your excellent work and makes sure the photos show how excellent it actually is.
How Better Photos Impact Your Booking Rate
Professional photos do not just look better—they convert better. When potential clients see professional presentation, they trust your professionalism. Trust leads to bookings.
Better photos mean more Instagram engagement. Followers share your work. Potential clients see your work more often. Your algorithm ranking improves. More people discover you.
Better photos mean higher perceived value. Clients see professional work and assume professional pricing. You can charge professional rates when your photos communicate professionalism.
Better photos mean fewer questions before booking. When photos clearly show what you do, clients already know what to expect. They book confidently instead of hesitating.
Better photos mean word-of-mouth amplification. Clients photograph your work and share it. If your portfolio is beautiful, clients want to show their friends. If your portfolio is mediocre, clients might not post at all.
Getting Started: How to Take Photos Your AI Can Enhance
Use natural light when possible. Sit near a window during daylight. Position your hand so light comes from the side or slightly behind. This creates dimension and shows detail.
Keep backgrounds simple. White walls, light backgrounds, or neutral colours work best. You want nothing competing with the nails.
Use multiple angles. Photograph straight-on, at 45 degrees, from the side. Different angles show different aspects of your work. AI can enhance whichever works best.
Photograph in focus. Make sure the nails are sharp and clear. Blurry photos cannot be fixed. AI enhancement works best on photos that are technically correct but aesthetically mediocre.
Take more photos than you need. Take 5–10 shots of each set. AI can enhance all of them. You choose the best ones.
Keep your phone camera clean. A smudged lens makes all photos hazy. Clean it before shooting.
You do not need professional equipment. You need decent light, a clean background, and focus. Then let AI handle the rest.
Learn to Improve Your Nail Photos With AI
The FREE Mini Online Masterclass teaches you exactly how to use AI tools to enhance your nail photography. Professional results without professional equipment. Perfect your portfolio in hours, not months.
Enrol in the Free Masterclass →Free • Self-paced • Professional results • Lifetime access
Common Nail Photography Mistakes (And How to Avoid Them)
Using only indoor salon lighting — Salon fluorescent lighting photographs poorly. Use natural light or move to better lighting when photographing. If you must use indoor lighting, move away from direct fluorescents.
Photographing too close or too far — The nails should fill the frame without being so close you lose context. Show the fingertips clearly. Show enough hand to see the shape and positioning.
Using filters that distort colours — Instagram filters may make photos look trendy, but they distort what clients will actually see. Use minimal filtering, or none. Let AI handle enhancement instead.
Mixing photo styles — If some photos are bright and some are dim, some warm-toned and some cool-toned, your portfolio looks inconsistent. Edit for consistency.
Photographing nails immediately after application — Wait a few minutes. Let the finish settle. Let any shine or stickiness disappear. Immediately-after photos often look wet or unfinished.
Ignoring the background — What is behind the nails matters. A cluttered workspace, visible salon equipment, or messy hands distract from your work. Control your background.
About Radina Ignatova and Her Teaching Philosophy
About the Author
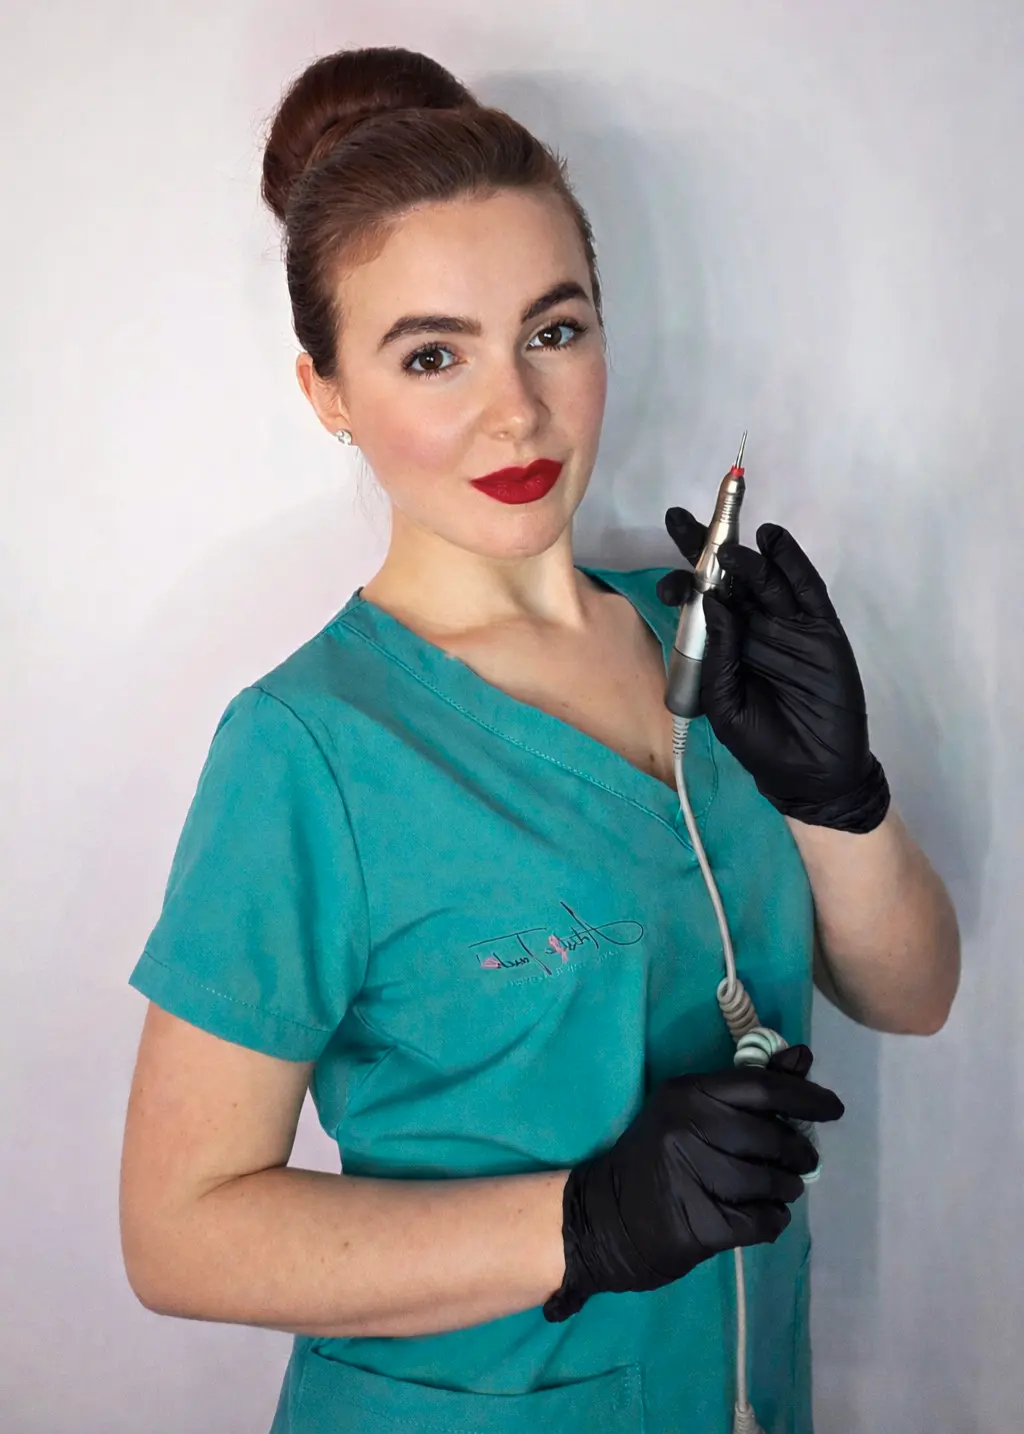
Radina Ignatova
Professional Nail Expert | International Nail Educator
I am Radina Ignatova, a Professional Nail Expert since 2014 and International Nail Educator, based in Scotland, UK. I am the Founder of Artistic Touch Nail Training Academy and TheNailWiki.
At Artistic Touch Nail Training Academy, I provide structured professional online nail courses specialising in dual forms, gel systems, polygel application, advanced nail structure, E-File work and Russian Manicure, with a strong focus on professional salon safety. I continue to work actively in salon practice, ensuring that all education reflects real client scenarios and current industry standards.
My teaching philosophy is simple: I show real salon challenges, real mistakes and real performance testing, not just perfect demonstrations. This is how you develop genuine technical competence and become a confident, capable nail professional.
Every Artistic Touch course includes lifetime access and access to a dedicated student support group, where I provide ongoing guidance and professional feedback.
Frequently Asked Questions
Do I need expensive AI software to improve my photos?
No. Many AI photo enhancement tools are free or low-cost. You can improve your photos without investing heavily. The Free Masterclass teaches you which tools work best for nail photos.
Will AI enhancement make my photos look fake?
Not if done correctly. Enhancement reveals what is actually there. Your nails will look like what you created, just photographed in optimal conditions. The Free Masterclass teaches you how to enhance without overdoing it.
How much time does it take to enhance nail photos?
Modern AI tools work quickly. A single photo enhancement takes 1–2 minutes. Once you know which settings work for your style, you can batch-edit multiple photos in the same time.
Should I replace all my old photos?
Gradually. Start with your best work and enhance it. Gradually replace old photos with enhanced versions. You do not need to do everything at once.
Can I use AI enhancement on phone photos?
Yes, absolutely. Phone photos are perfect for AI enhancement. Many AI tools work directly on mobile devices. You do not need a computer or professional equipment.
Disclaimer: This content is for professional nail technician guidance purposes. AI photo enhancement should always present your actual work truthfully. Enhanced photos should represent what clients will actually see when they visit your salon.
About Artistic Touch Nail Training Academy
Artistic Touch Nail Training Academy delivers structured professional online nail education focused on practical skill development, professional standards and safe salon practice. All courses are available online worldwide with lifetime access and ongoing student support.