Encapsulating Dry Flowers with Dual Forms: Structure Over Design
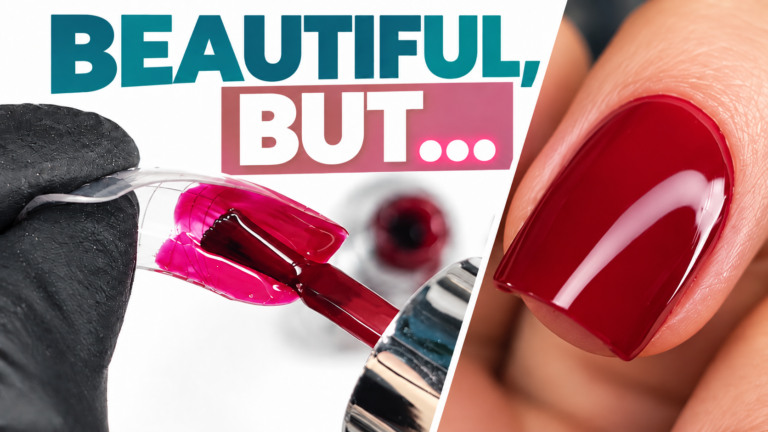
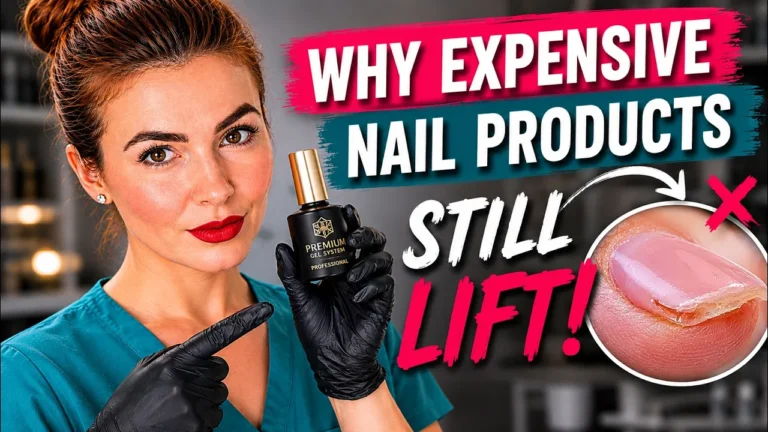
Encapsulated dry flower nails look beautiful. But they are often built incorrectly, which means they fail.
Most technicians focus on the design: placing flowers, adding glitter, creating a visual effect. But the real work happens beneath the design, in the structure that holds everything in place.
This article explains how to build encapsulated dry flower nails that are not only beautiful but also durable. The focus is on understanding why each step matters, not just copying what you see.
Why Encapsulated Dry Flowers Fail (And How to Prevent It)
Encapsulated flowers fail when structure is sacrificed for design. Using base coat instead of builder gel, inadequate encapsulation, uneven product distribution, and weak stress areas are the primary culprits. Beautiful design means nothing if the nails break within days.
Professional encapsulation requires planning the structure first, then adding the design. Every layer must be intentional. Every product choice must serve durability, not just appearance.
Structure Over Design: Why Most Encapsulated Nails Fail
When you look at encapsulated dry flower nails, you see design. You see colours, flowers, glitter, and visual effects. This is what draws you in.
But what you do not see is the structure underneath. And without proper structure, the design fails.
Most technicians approach encapsulation backwards. They think about the design first: what flowers to use, what colours to add, how to arrange glitter. Then they apply products trying to fit the design in.
Professional encapsulation reverses this thinking. You plan the structure first. You build layers that support the weight and movement of decorative elements. Then you add the design within the structural constraints.
This is why many encapsulated nails that look beautiful in photos fail within days. The structure was never sufficient. The design was pretty, but unsupported.
The Structure Principle
Beautiful encapsulated nails require beautiful structure. Every product choice, every layer, every decision must serve durability first. Design comes second.
Why Builder Gel Is Essential for Encapsulation (Not Base Coat)
Many technicians use base coat for encapsulation. Base coat is thinner, easier to work with, and quicker to cure. But base coat does not provide adequate support for decorative elements.
Builder gel is specifically formulated for structure. It is thicker, stronger, and holds its form. When you encapsulate flowers and glitter, you are embedding weight into the gel. This weight requires builder gel’s structural support.
Using base coat for encapsulation is like using canvas instead of wood to build a shelf. It might work for light items, but it will eventually fail.
The flowers need to be held in place by sufficient product. The glitter needs to be surrounded and protected. The stress areas need additional support. Base coat cannot deliver this. Builder gel can.
Preparing Dual Forms: Planning Before Execution
Dual forms are not one-use tools. They require assessment before you begin building on them.
Choose the correct size. The dual form should fit your client’s nail without requiring significant filing. Oversized forms waste time. Undersized forms create weak edges. The fit should be snug but not forced.
Assess the structure. Some dual forms have shallow smile lines. Others have deep ones. Some have support ridges. Others are smooth. Understanding your form’s structure determines how much additional product you will need and where stress areas will be.
Inspect for flaws. Some dual forms have dips or inconsistencies. These weaken specific areas. If your form has a structural flaw, you must compensate with additional product support at that location.
Plan your layers. Before you start applying gel, envision the finished nail. Where will stress concentrate? Where do you need extra thickness? Where can you be minimal? This planning prevents wasteful product application and ensures structural balance.
Flash Curing and Full Curing: Knowing the Difference
Flash curing sets product quickly so you can continue working. It prevents movement. But flash curing does not fully polymerise the product.
Fully curing—placing nails in the lamp for the full recommended time—creates complete polymerisation. This is where the product reaches its maximum strength.
For encapsulated designs, flash curing is used throughout the building process to hold decorative elements in place. But full curing is essential at the end to ensure the entire structure is strong enough to wear.
If you skip full curing, you have a nail that looks strong but is not. It will fail under normal wear.
⚠️ The Curing Mistake
Many technicians assume flash curing is sufficient. It is not. Flash curing is a working tool. Full curing is a requirement. Without full curing, your encapsulated nails will fail.
Keeping Flowers Flat During Encapsulation
Dry flowers have no structure of their own. They are fragile. If you place them carelessly into gel, they will shift, fold, or float instead of staying flat.
To keep flowers flat, you must encapsulate them gradually. Place a small amount of builder gel. Press the flower flat into the gel. Flash cure. Add more gel on top of the flower. This layering approach holds flowers in position.
Do not try to place a full layer of gel, then press flowers into it. The flowers will float and shift as the product moves. You need the gel to set before adding pressure to the flower.
Use a small tool—an orange wood stick or similar—to gently hold flowers in place while flash curing. This prevents movement during the critical setting moment.
Preventing Unnecessary Bulk While Maintaining Strength
Encapsulated nails often become bulky. Technicians add extra product thinking more thickness means more strength. This creates heavy, opaque nails that look less professional.
True strength comes from proper product distribution, not excessive product. Strategic placement is more important than overall thickness.
Identify stress areas. The smile line is a stress area. The sides near growth points are stress areas. The free edge experiences bending stress. These areas need adequate support.
Minimal areas. The centre of the nail bed can be thinner if the design does not require structure there. If you are only placing glitter at the edges, you do not need thick product in the centre.
Encapsulation does not mean coverage. Encapsulation means surrounding decorative elements with gel. It does not mean covering the entire nail with thick layers.
Clean, strategic product application creates stronger, more elegant nails than excessive bulk.
French Tips with Encapsulated Design: Smile Line Challenges
When adding encapsulated elements to a French tip, the smile line becomes complex. You need enough product to hide the natural nail bed. You need adequate thickness for the French tip stress area. You need room for the nail bed colour later.
This requires careful product placement before the dual form is fitted to the client’s natural nail.
Assess the smile line. Is the natural nail bed visible at the smile line? If yes, you need colour blended at that area to cover it when the form is fitted.
Add support strategically. The French tip connection point is where the most stress occurs. This area needs adequate builder gel support, but not so much that you create bulk.
Plan for final colour application. Leave space for the nail bed colour you will apply in Part 2 of the fitting process. If you over-fill the smile line now, you will not have room for proper nail bed coverage later.
Encapsulation on Small Nails: Pinky Challenges
Small nails—particularly pinkies—present unique challenges for encapsulation. You have less surface area to work with. Less space means less room for product. Less product means less support.
On small nails, you cannot use the same amount of decorative elements as on larger nails. You must reduce the number of flowers or glitter flakes. You must increase the proportion of builder gel to decoration.
The result is that small nails need lighter, more minimal designs. This is not a limitation—minimal designs on small nails often look more elegant than heavy designs.
Focus on proper structure more carefully on small nails. Every decision about product placement matters more because there is less margin for error.
From Preparation to Client Nail: The Complete Process
What you see in Part 1 is preparation—building the design on the dual form before it touches the client’s natural nail. This is the technical foundation.
Part 2 shows the fitting process—how these prepared forms are applied to the natural nail, how additional support is added, how the nail bed colour is applied, and how the final shape is refined.
The complete process takes time. Preparing one full set with encapsulated elements can take two hours or more. This is not a quick service. It requires skill, understanding, and patience.
If you are new to encapsulation, expect the first few sets to take longer. As you gain experience, you will work more efficiently. But do not rush the process. Encapsulated nails fail when they are rushed.
Common Encapsulation Mistakes That Lead to Failure
Using insufficient product. Thinking minimal equals elegant, then under-supporting decorative elements. Decorative elements need adequate gel surrounding and protecting them.
Using base coat instead of builder gel. Base coat is not strong enough. Flowers and glitter sink or shift instead of staying supported.
Not flash curing between layers. Trying to place multiple flowers or glitter in one wet layer. They float, shift, and end up uneven.
Overcrowding the design. Placing too many flowers or too much glitter, creating bulk and reducing clarity. Less is often more with encapsulation.
Ignoring stress areas. Building beautiful design while neglecting the smile line, growth points, or free edge. These areas fail first.
Skipping full curing. Flash curing throughout, but not full curing at the end. Nails look strong but are not.
Not understanding dual form limitations. Using forms that are too long, too small, or structurally flawed for your design. The form must be appropriate for the client’s nail.
About Radina Ignatova and Her Teaching Philosophy
About the Author
Radina Ignatova
Professional Nail Expert | International Nail Educator
I am Radina Ignatova, a Professional Nail Expert since 2014 and International Nail Educator, based in Scotland, UK. I am the Founder of Artistic Touch Nail Training Academy and TheNailWiki.
At Artistic Touch Nail Training Academy, I provide structured professional online nail courses specialising in dual forms, gel systems, polygel application, advanced nail structure, E-File work and Russian Manicure, with a strong focus on professional salon safety. I continue to work actively in salon practice, ensuring that all education reflects real client scenarios and current industry standards.
My teaching philosophy is simple: I show real salon challenges, real mistakes and real performance testing, not just perfect demonstrations. This is how you develop genuine technical competence and become a confident, capable nail professional.
Every Artistic Touch course includes lifetime access and access to a dedicated student support group, where I provide ongoing guidance and professional feedback.
Master Dual Forms Completely
The Ultimate Dual Forms Online Course covers every aspect of dual form systems including encapsulation, structural design, real salon application, and advanced troubleshooting.
Enrol in the Professional Course →Lifetime access • Self-paced • Professional understanding • Real salon focus
Frequently Asked Questions
Can I use top coat instead of builder gel for encapsulation?
No. Top coat is not formulated for structural support. It is designed to seal and shine. For decorative elements, you need builder gel’s structural properties. Top coat will leave your flowers and glitter unsupported.
How long do encapsulated nails typically last?
When built correctly with proper structure, encapsulated nails last as long as regular gel enhancements—three to four weeks typically. If built incorrectly (weak structure, insufficient product, weak stress areas), they can fail within days.
Is encapsulation suitable for all clients?
Encapsulated nails are not for clients with very active lifestyles or those who work with their hands heavily. Decorative elements, no matter how well-supported, will experience stress from movement. Be realistic about which clients can wear encapsulated designs long-term.
Do I need experience with dual forms before attempting encapsulation?
Yes. Encapsulation is an advanced technique. You should be comfortable assessing, fitting, and adjusting dual forms before attempting decorative encapsulation. Start with the free guide to understand dual forms first.
Can I prepare encapsulated nails in advance for clients?
Yes. You can prepare the design on dual forms in advance, then fit them during the client appointment. This requires accurate client sizing beforehand and understanding of how the prepared design will fit different nail beds.
Start With the Free Guide
If you are new to dual forms, start with the free guide to understand how to assess, fit, and use dual forms correctly before attempting advanced encapsulation.
Free Course: How to Pick Dual Forms →Disclaimer: This content is for professional nail technician education purposes only. Nail services should be performed by trained professionals following current hygiene and safety regulations. Always carry out a full client consultation and check for contraindications before performing any nail service. Encapsulated designs are advanced techniques requiring proper understanding of dual form systems and structural support.
About Artistic Touch Nail Training Academy
Artistic Touch Nail Training Academy delivers structured professional online nail education focused on practical skill development, professional standards and safe salon practice. All courses are available online worldwide with lifetime access and ongoing student support.