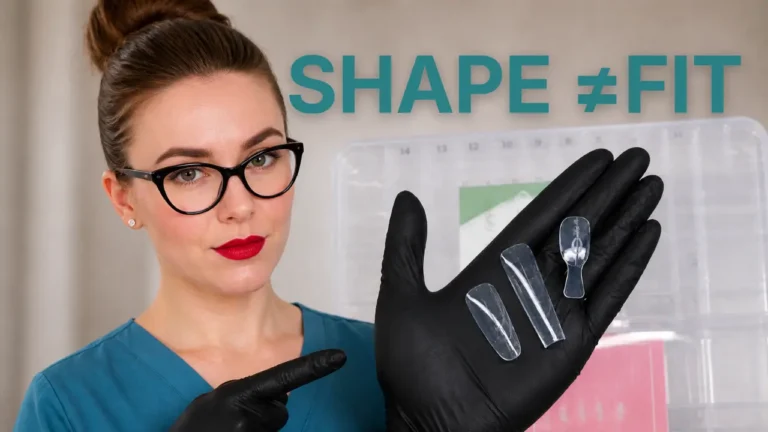
Sandwich Dual Forms CORRECTED – All Mistakes Fixed (Part 2)
How Do You Apply Sandwich Dual Forms Correctly?
Press the entire sandwich form at once whilst curing fully for 60 seconds — no flash curing sections like regular dual forms. Use only flat decorations inside the form, spread product to edges before application, assess nail shape to determine if you need both form parts, and check the seal from all angles before curing.
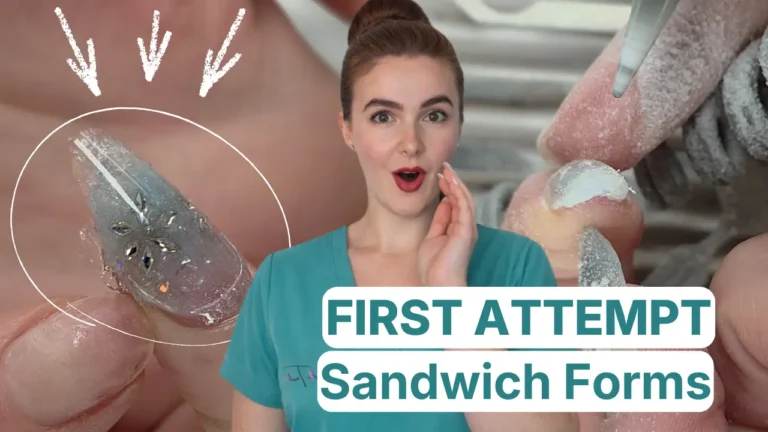
This video demonstrates the corrected technique after fixing all five mistakes from Part 1, resulting in professional structure with no gaps, complete sidewall coverage, and beautiful frosty snowflake design.
Watch: Sandwich Dual Forms Corrected Technique (Part 2)
After identifying every mistake from Part 1, I filmed this corrected version applying all the solutions. The difference was dramatic — professional structure, no gaps, proper strength, and a beautiful frosty snowflake design that actually showcased the technique properly.
Five Key Corrections Shown in This Video
This video demonstrates how I fixed all five critical mistakes from Part 1:
Correction 1: Structure First, Decoration Second
Used only flat 3D snowflakes inside the dual form — no thick gems or rhinestones that take up product space. Snowflakes were created separately using builder gel in silicone moulds and flash cured onto the inside of the form with top coat. Any decoration inside the form must be flat enough that it does not prevent polygel from reaching the sidewalls.
Correction 2: Press Everything and Cure Fully
Instead of flash curing the cuticle area first, I applied the product, pressed the entire sandwich form down at once, held the pressure, and cured for the full 60 seconds without releasing. This is the most important correction — sandwich dual forms work completely differently than regular dual forms.
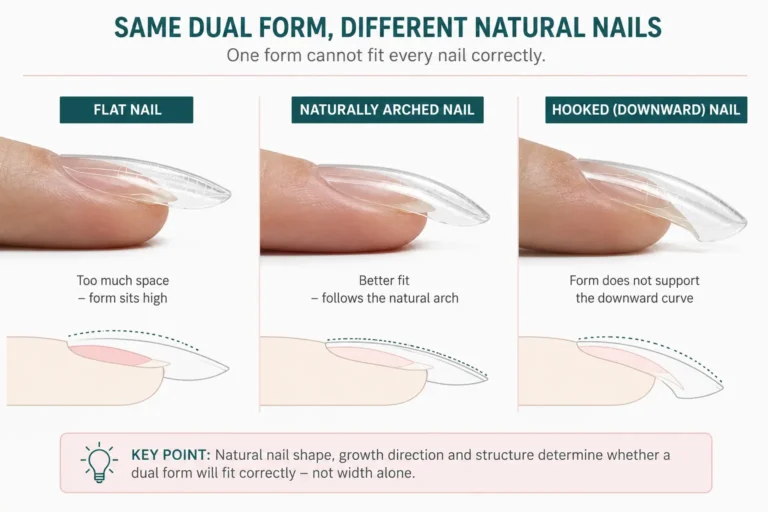
Correction 3: Assess Nail Shape Before Choosing Forms
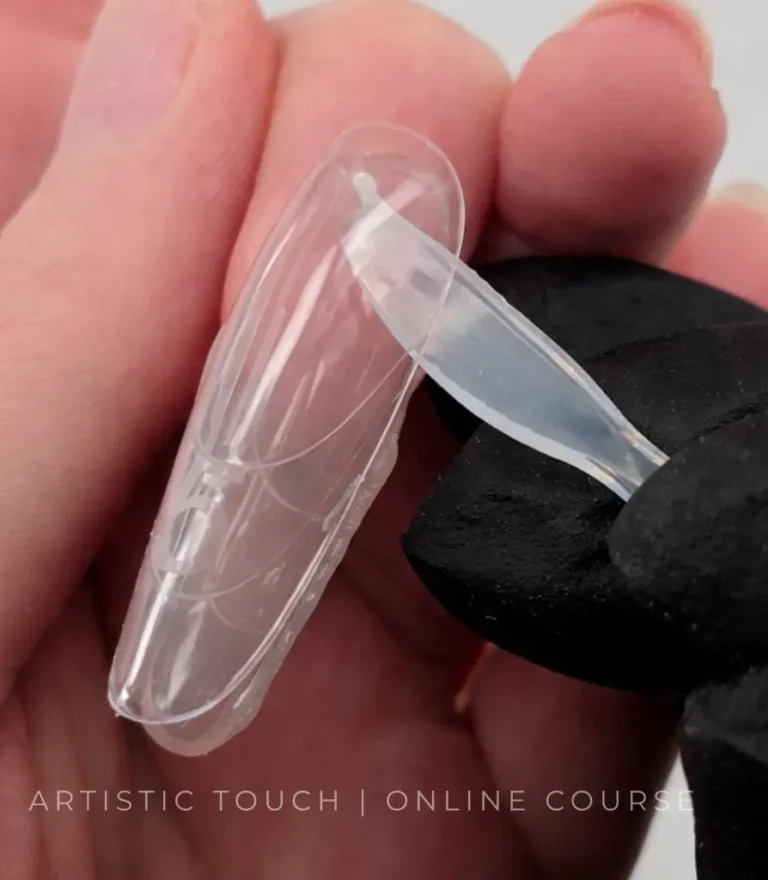
Before starting application, I looked at each natural nail from the side view to determine its growth pattern. For hooked nails (nails that curve downward), I used only the top part of the sandwich form and later filed the underneath to match the natural downward curve.
Correction 4: Spread Product to Edges First
Before pressing the form onto the nail, I used a spatula to spread the polygel all the way to the edges of the dual form. This ensured complete coverage of the sidewalls and stress points without flooding the cuticle area. Used less product overall but achieved better distribution.
Correction 5: Safe Base Coat Application Method
For the bottom part of the sandwich form, I applied a thin layer of flexible base coat to the bottom form itself, then flash cured it before pressing the form onto the nail. This creates a secure seal without skin contact, which is my preferred safe method.
What You Will See in This Video
- Product setup showing chrome powders, CND pigment, chameleon flakes, and polygel colours
- Mixing small amounts of pigments and chrome into polygel (with safety warnings about changing chemistry)
- Creating flat 3D snowflakes and securing them inside dual forms with top coat
- Applying shimmer gel polish and white snowy glitter near the cuticle before form application
- Safe base coat method for bottom form attachment (no product touching skin)
- Correct pressing technique — entire form pressed at once, cured fully for 60 seconds
- Why hooked nails need only the top form part
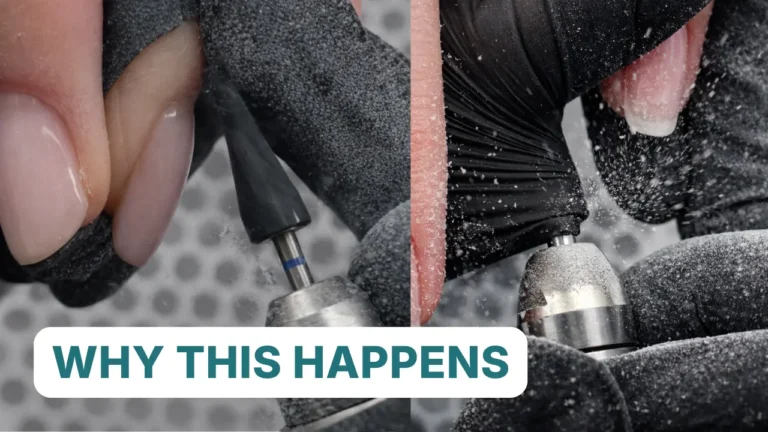
- Filing and refining with carbide cone drill bit
- Shaping with 180 grit file following (but not exactly copying) the dual form guide
- Buffing, adding stencil snowflake to pinky nail, top coating, and finishing with cuticle oil
- Final result showing professional structure, complete sidewall coverage, and beautiful frosty design
Step-by-Step Pressing Technique Demonstrated
Watch how the corrected pressing method creates proper structure:
- Place polygel inside the top part of the dual form
- If using the bottom form, apply base coat to it and flash cure
- Position the top form onto the nail
- Press from cuticle towards free edge, applying even pressure to the entire form
- Hold this pressure whilst curing for 60 seconds
- Do not release pressure during curing
- Check the seal from all angles after curing
The result: No gaps, complete seal, proper structure. The product reached every part of the form because it was not partially cured whilst being positioned.
⚠️ Critical Product Safety Warning
Do not put too much pigment, chrome powder, or gel polish into polygel. Changing the chemistry too much can prevent proper curing, weaken the structure, and potentially cause allergic reactions. Use small amounts only for the ombre or design sections, and use unmodified polygel for structural areas — particularly the free edge and stress points. Always cure a test piece first to ensure it sets properly.
Frosty Snowflake Design Details
The design creates a frosty, wintry effect using layers of colour and shimmer:
- Cuticle area: Clear polygel with hint of chrome pigment for subtle shimmer
- Behind snowflakes: Blue polygel mixed with CND pigment to make snowflakes pop
- Free edge: Unmodified glitter polygel for structural strength
- Base layer: Light shimmer gel polish fading towards cuticle
- Top layer: White snowy glitter gel polish for frosty effect
- Ring finger accent: Rhinestones instead of snowflake
- Pinky nail: Milky white marbled look with stencil snowflake on top
Master the Complete Technique
This tutorial shows you the corrections. But knowing what to fix is different from knowing how to troubleshoot problems before they happen — and that is what I teach in my Sandwich Dual Forms Online Course.
What You Will Learn in the Full Course
- ✓ Proper technique from the start — no need to unlearn bad habits later
- ✓ How to assess nail shape and choose the correct form combination
- ✓ Product placement, pressure control, and curing protocols that work
- ✓ Troubleshooting common problems before they affect your client work
Related Tutorials
This is Part 2 of the Sandwich Dual Forms tutorial series. Watch the other parts to see the complete process:
- Part 1: Testing Mistakes — See the honest mistakes I made on first attempt
- Complete Sandwich Dual Forms Guide — Full technical guide on TheNailWiki covering all aspects of the sandwich dual form system
About the Author
Radina Ignatova
Professional Nail Expert | International Nail Educator
I am Radina Ignatova, a Professional Nail Expert since 2014 and International Nail Educator, based in Scotland, UK. I am the Founder of Artistic Touch Nail Training Academy and TheNailWiki.
At Artistic Touch Nail Training Academy, I provide structured professional online nail courses specialising in dual forms, gel systems, polygel application, advanced nail structure, E-File work and Russian Manicure, with a strong focus on professional salon safety. I continue to work actively in salon practice, ensuring that all education reflects real client scenarios and current industry standards.
My teaching philosophy is simple: I show real salon challenges, real mistakes and real performance testing, not just perfect demonstrations. This is how you develop genuine technical competence and become a confident, capable nail professional.
Every Artistic Touch course includes lifetime access and access to a dedicated student support group, where I provide ongoing guidance and professional feedback.
Disclaimer: This content is for educational purposes only. Nail services should be performed by trained professionals following current hygiene and safety regulations. Always carry out a full client consultation and check for contraindications before performing any nail service.
About Artistic Touch Nail Training Academy
Artistic Touch Nail Training Academy delivers structured professional online nail education focused on practical skill development, professional standards and safe salon practice. All courses are available online worldwide.