How to Buff Natural Nails Without Damage
Quick Answer: How Do You Buff Nails Safely?
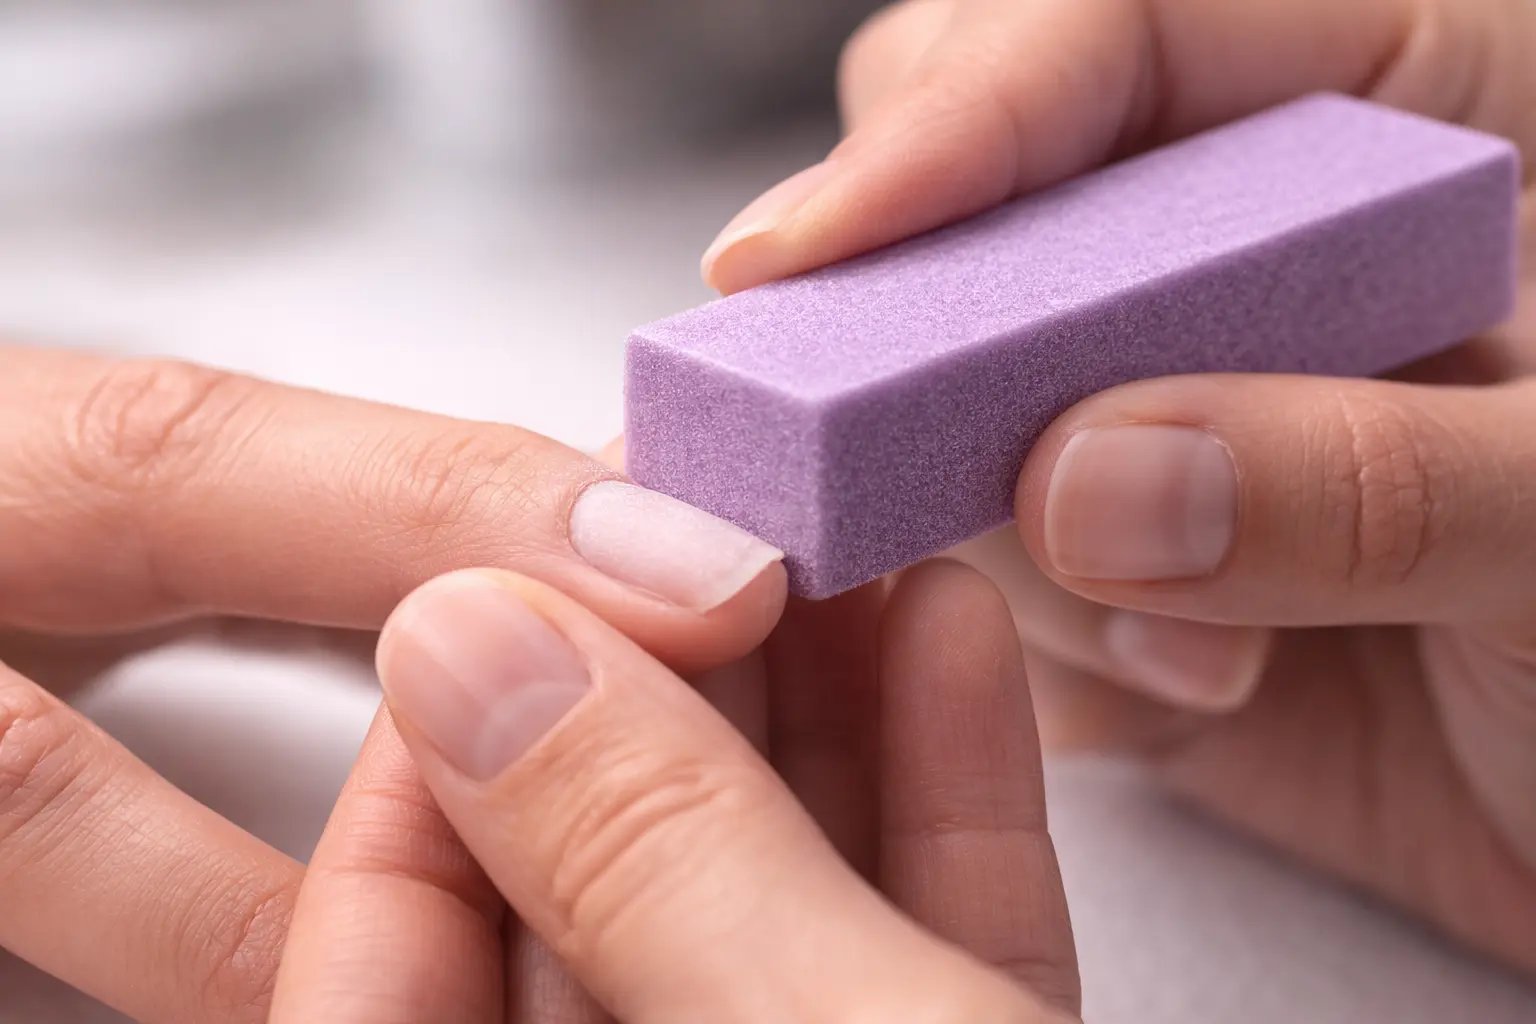
Use a 180-grit buffer or finer with light, sweeping motions across the nail plate. Stop when the surface appears matte. The nail should not feel warm, appear translucent, or show white patches. Correct buffing removes only surface shine and oils without thinning the nail plate.
The Nail Prep Course demonstrates safe buffing pressure, motion patterns, and how to identify when buffing is complete versus when you are over-buffing and causing damage.
Why Nail Technicians Over-Buff
Nail technicians damage the nail plate during buffing because they do not understand the difference between removing surface shine and removing nail plate layers. Buffing appears simple but requires precise pressure control and motion technique to achieve proper gel prep texture without thinning the nail or generating heat.
Over-buffing is the most common prep error that causes long-term nail damage. Unlike contamination or timing mistakes that only affect gel wear time, excessive buffing removes protective keratin layers that cannot regenerate. Repeatedly over-buffed nails become thin, weak, flexible, and prone to splitting or cracking. The damage accumulates with each service until the nail plate is compromised permanently.
Many technicians learn buffing through observation or brief demonstrations that do not explain pressure indicators, completion signals, or damage recognition. Without structured instruction on what correct buffing feels like and looks like, beginners develop aggressive habits that produce immediate gel adhesion but cause cumulative nail health problems over months of repeated services.
Understanding Buffer Grit Numbers
Buffer grit numbers indicate how coarse or fine the buffing surface is. Lower numbers are more aggressive and remove material faster. Higher numbers are finer and remove less material per stroke. A 100-grit buffer is very aggressive and should never be used on natural nails for gel prep. A 240-grit buffer is gentle and safe for repeated use on healthy nails.
The standard grit range for natural nail buffing before gel application is 180–240 grit. Buffers in this range remove surface shine and natural oils without penetrating deeply into the nail plate layers. Most professional buffers designed specifically for gel prep fall within this safe range, but always verify the grit number before purchasing or using an unfamiliar buffer.
Lower grit buffers (100–150 grit) are designed for filing acrylic or removing gel product, not for natural nail preparation. Using these aggressive buffers on natural nails removes excessive keratin and creates visible scratches, heat, and white patches indicating nail damage. If your buffer creates any of these signs, replace it with a finer grit immediately.
Higher grit buffers (320 grit and above) are designed for polishing and shine creation, not for gel prep. These ultra-fine buffers do not remove enough surface material to create the microscopic texture required for gel adhesion. Using too fine a buffer results in glossy patches remaining on the nail where natural oils have not been removed, causing lifting in those areas.
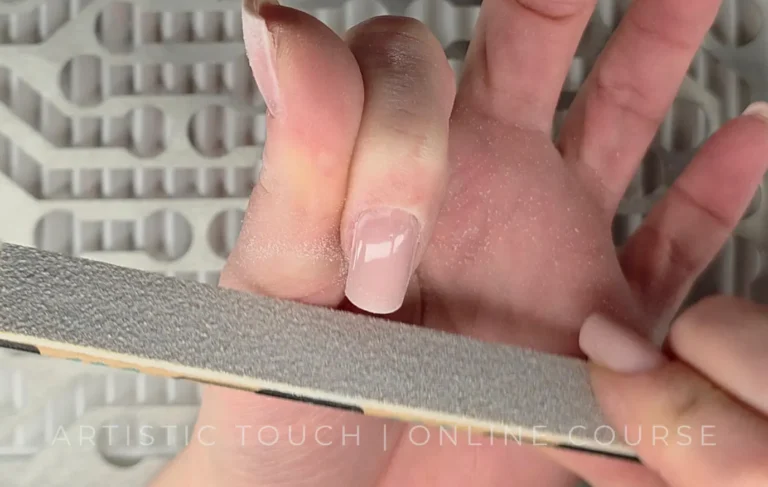
Correct Buffing Pressure and Motion
Buffing pressure should be light enough that the buffer glides smoothly across the nail surface without creating resistance or friction heat. The weight of the buffer itself provides adequate pressure for effective surface preparation. Additional pressure from your hand is unnecessary and indicates over-buffing technique.
Use sweeping motions that cover the entire nail plate in smooth, overlapping strokes. Work from cuticle to free edge and sidewall to sidewall, ensuring even coverage across the nail surface. Avoid concentrating buffing in one area or making repeated passes over the same spot, as this creates uneven texture and increases the risk of localised thinning.
The buffing motion should feel effortless. If you are pressing hard enough to see the nail plate flex beneath the buffer, you are applying excessive pressure. If the nail feels warm during or immediately after buffing, you have generated friction heat that indicates over-buffing. Reduce pressure and increase motion speed to prevent heat buildup.
Buffing each nail should require approximately 8–15 seconds. Buffing for longer periods indicates either too light pressure that is not removing shine effectively, or repeated passes that are removing excessive nail plate material. Develop a consistent rhythm that achieves matte appearance within this time frame, then stop buffing immediately.
Recognising When Buffing Is Complete
Buffing is complete when the nail surface appears uniformly matte with no glossy patches visible under direct light. The natural shine should be gone, but the nail should not appear rough, scratched, or discoloured. Run your finger lightly across the buffed surface—it should feel smooth, not textured or gritty.
Check the nail plate under angled lighting to identify any remaining glossy areas that indicate incomplete buffing. These glossy patches are areas where natural oils have not been removed and where gel product will lift during wear. Buff these specific areas lightly until they match the matte appearance of the surrounding nail surface.
The nail should not appear white, chalky, or translucent after buffing. White patches indicate that you have buffed through the outer keratin layers and exposed the softer, more porous intermediate layers of the nail plate. This is over-buffing and causes both immediate adhesion problems and long-term nail damage.
If the nail feels warm to the touch after buffing, you have generated friction heat that indicates excessive pressure or prolonged buffing time. Heat damages the keratin structure and can cause the nail to become brittle or develop microscopic cracks that propagate during wear. Allow the nail to cool completely before proceeding with gel application, and reduce buffing intensity on subsequent nails.
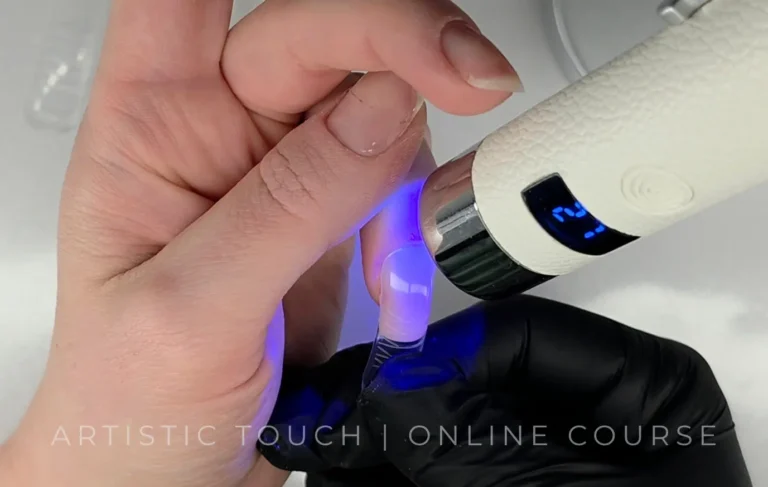
E-File Buffing Technique
E-file buffing requires more precise technique than hand buffing because the rotating bit removes material faster and generates more heat if pressure control is inadequate. Use a fine-grit buffing bit designed specifically for natural nail preparation, typically a cushioned drum or cylinder bit at 180–240 grit equivalent.
Set the e-file speed between 8,000–12,000 RPM for natural nail buffing. Higher speeds increase heat generation and the risk of over-buffing. Lower speeds may not provide adequate material removal and can cause the bit to catch on the nail surface. Beginners should start at the lower end of this speed range and increase gradually as control improves.
Apply the buffing bit to the nail surface with minimal pressure, allowing the rotation to do the work. Move the bit continuously across the nail in smooth, even strokes. Never hold the bit stationary on one spot as this concentrates heat and material removal in a small area, creating divots or burn marks on the nail plate.
The E-File Manicure course provides detailed demonstrations of e-file buffing technique including bit selection, speed settings, pressure control, and motion patterns that prevent damage whilst achieving proper gel prep texture. E-file buffing is faster than hand buffing once technique is mastered, but requires more initial training to perform safely.
When Not to Buff Natural Nails
Do not buff nails that are already thin, flexible, or show signs of damage such as peeling, splitting, or visible layers separating. Buffing compromised nails removes additional protective material and worsens the underlying damage. These clients require alternative prep methods or may not be suitable candidates for gel services.
Do not buff nails immediately after gel removal if the removal process has already thinned or roughened the nail plate. The nail needs recovery time to restore its natural moisture content and structural integrity before additional buffing is performed. Offer the client a break from gel services or use a buffing-free gel system designed for damaged nails.
Do not buff nails showing active infection, inflammation, or contraindications such as green nail syndrome, onycholysis, or recent trauma. Buffing these nails spreads bacteria, worsens separation, or causes pain and further damage. Decline the service and recommend appropriate medical attention or recovery time.
Some modern gel systems claim to eliminate the buffing step entirely by incorporating surface-prep chemistry into the base coat itself. If you are using such a system, follow the manufacturer’s specifications exactly. However, most traditional gel systems require light buffing, and skipping this step when it is required causes full-surface lifting within 48 hours.
⚠️ Over-Buffing Cannot Be Reversed
Once the nail plate is thinned by excessive buffing, the damage cannot be repaired—only grown out. This process requires approximately four to six months for fingernails and up to twelve months for toenails. Clients with repeatedly over-buffed nails may develop chronic nail health problems including persistent lifting, increased sensitivity, and difficulty growing nails beyond the fingertip. Always use the minimum buffing required to achieve matte appearance. If gel product is lifting despite light buffing, the problem is contamination, timing, or product application—not insufficient surface texture. Never increase buffing intensity to compensate for other prep errors.
Hand Buffing Versus E-File Buffing
Hand buffing provides better tactile feedback for beginners learning pressure control and completion recognition. The buffer block allows you to feel the resistance of the nail surface and adjust pressure instinctively. Hand buffing is also safer for clients with thin or damaged nails because the manual pressure is inherently limited by your hand strength and cannot generate excessive heat.
E-file buffing is faster and more consistent once proper technique is established. The rotating bit removes surface material evenly without operator fatigue, and the continuous motion prevents the uneven texture that can result from hand buffing with inconsistent pressure. However, e-file buffing requires more training to perform safely and carries higher risk of over-buffing or heat damage if technique is incorrect.
Beginners should master hand buffing technique before attempting e-file buffing. Understanding what correctly buffed nails look and feel like provides the reference point needed to recognise when e-file buffing is complete versus when it is becoming excessive. Many experienced technicians use hand buffing for delicate areas such as sidewalls or thin nails, and reserve e-file buffing for larger nail surfaces or clients with thick, strong nail plates.
Why Buffing Technique Determines Nail Health
Buffing is the only prep step that physically alters the nail plate itself. All other prep steps—cleaning, dehydrating, priming—apply products to the surface but do not remove nail material. This makes buffing the highest-risk prep step for causing cumulative damage through repeated services.
The Nail Prep Course demonstrates correct buffing technique for both hand buffing and e-file buffing, showing you the pressure, motion patterns, and completion signals that prevent over-buffing whilst achieving proper gel prep texture. The course includes side-by-side comparisons of correctly buffed versus over-buffed nails so you can identify damage before it becomes severe.
Protect Natural Nail Health
The Nail Prep Course teaches safe buffing technique that prepares nails for reliable gel adhesion without causing thinning, heat damage, or long-term nail health problems. Includes demonstrations for both hand buffing and e-file buffing methods.
Nail Prep Course →Lifetime access • Self-paced learning • Start immediately • Access from anywhere
Frequently Asked Questions
What grit buffer should I use for gel nails?
Use a 180–240 grit buffer for natural nail preparation before gel application. Buffers in this range remove surface shine without penetrating deeply into the nail plate layers. Lower grit buffers (100–150) are too aggressive and cause over-buffing damage. Higher grit buffers (320+) do not remove enough surface material to create proper adhesion texture.
How do you know if you are over-buffing nails?
Over-buffing signs include nail warmth during buffing, translucent appearance, white patches on the nail surface, visible deep scratches, or flexible nail plates that bend easily. If any of these signs appear, stop buffing immediately. The nail should appear matte but should feel smooth and maintain its natural opacity and rigidity.
Can you buff nails too much?
Yes. Excessive buffing removes too many keratin layers and creates a thin, weak nail plate that cannot support gel adhesion or resist normal wear stress. Over-buffed nails become prone to splitting, cracking, and chronic lifting. The damage cannot be repaired and must grow out completely, requiring four to six months for fingernails.
Should I buff my nails before every gel manicure?
Light buffing before each gel application is necessary for most gel systems to achieve proper adhesion. However, repeated aggressive buffing accumulates damage over time. Use the lightest pressure and finest appropriate grit (180–240) to minimise material removal. If nails are already damaged or thin, consider buffing-free gel systems or allow recovery time between services.
Is it better to buff nails with a buffer or e-file?
Hand buffers provide better control for beginners and are safer for thin or damaged nails. E-files are faster and more consistent once technique is mastered but require more training to use safely. Both methods can achieve proper gel prep texture when performed correctly. Beginners should master hand buffing before attempting e-file buffing to develop pressure recognition and completion signals.
About the Author

Radina Ignatova
Professional Nail Expert | International Nail Educator
I am Radina Ignatova, a Professional Nail Expert since 2014 and International Nail Educator, based in Scotland, UK. I am the Founder of Artistic Touch Nail Training Academy and TheNailWiki.
At Artistic Touch Nail Training Academy, I provide structured professional online nail courses specialising in dual forms, gel systems, polygel application, advanced nail structure, E-File work and Russian Manicure, with a strong focus on professional salon safety. I continue to work actively in salon practice, ensuring that all education reflects real client scenarios and current industry standards.
My teaching philosophy is simple: I show real salon challenges, real mistakes and real performance testing, not just perfect demonstrations. This is how you develop genuine technical competence and become a confident, capable nail professional.
Every Artistic Touch course includes lifetime access, where I provide ongoing guidance and professional feedback.
Disclaimer: This content is for educational purposes only. Nail services should be performed by trained professionals following current hygiene and safety regulations. Always carry out a full client consultation and check for contraindications before performing any nail service.
About Artistic Touch Nail Training Academy
Artistic Touch Nail Training Academy delivers structured professional online nail education focused on practical skill development, professional standards and safe salon practice. All courses are available online worldwide.