Dual Form Nails on Natural Nails: Real Salon Application Step by Step
Quick Answer: How Do You Apply Dual Form Nails on Natural Nails?
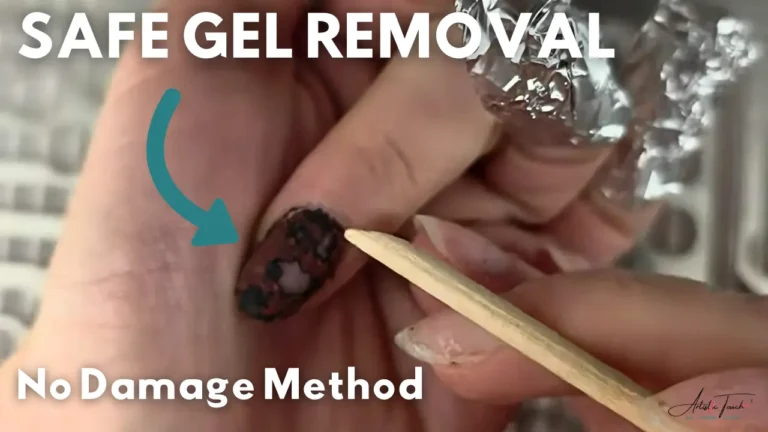
Dual form nails on natural nails are applied by priming the nail, adding an elastic base coat, selecting correctly sized forms, filling them with BIAB or builder gel, flash curing, then removing and refining the shape. The process strengthens the natural nail whilst creating a uniform, structured finish without the need for a colour overlay.
Key steps: Acid-free primer → elastic base coat → correct form sizing → gel application → flash cure → full cure → form removal → inhibition layer removal → shape refinement → top coat.
Want to master this technique? The full masterclass below walks through every stage in depth — including how to select the correct dual form size for every nail shape.
What This Video Shows You
This is a real, unedited salon appointment. No staged setups, no perfect conditions — just an honest look at what dual form nail application on natural nails actually involves when you are working back-to-back with clients, filming at the same time, and encountering the kinds of small challenges that every nail technician faces on a daily basis.
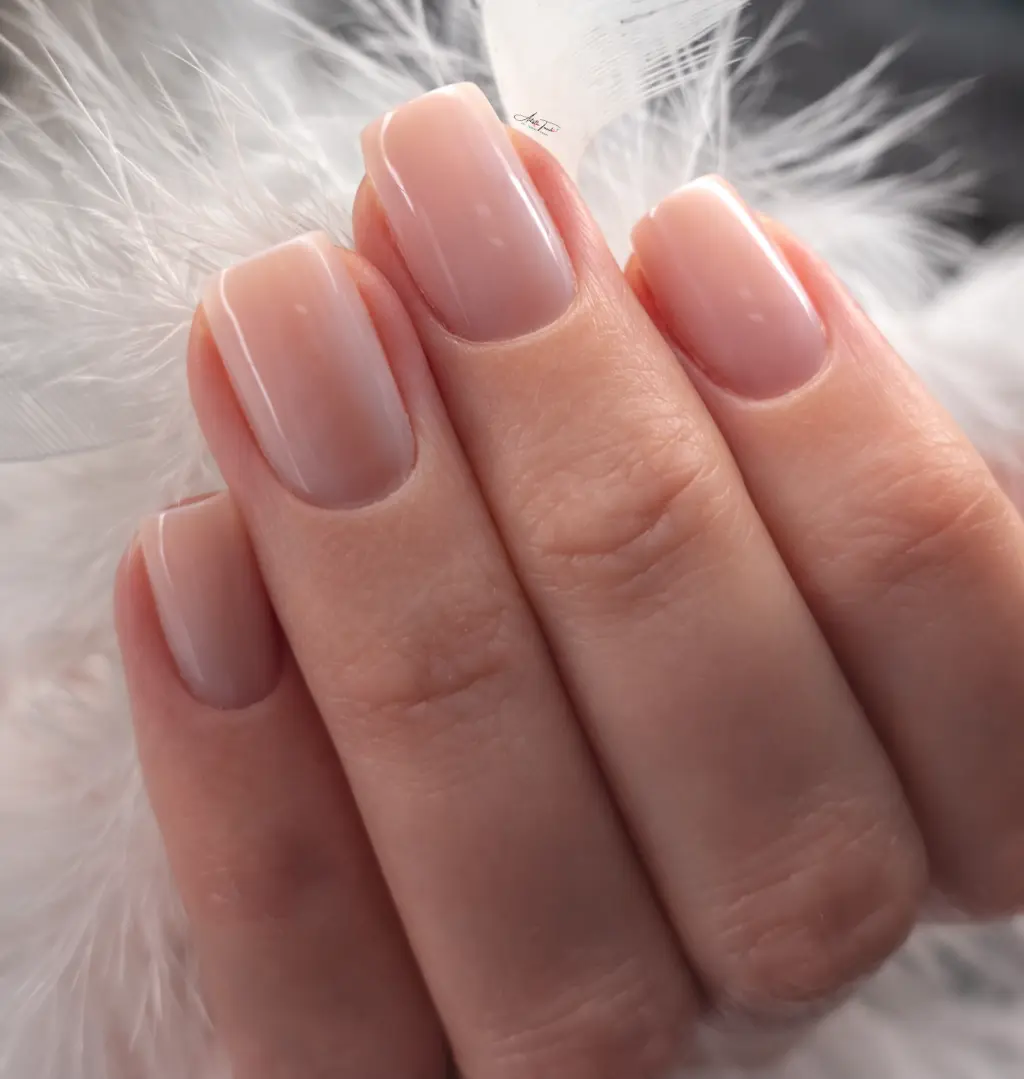
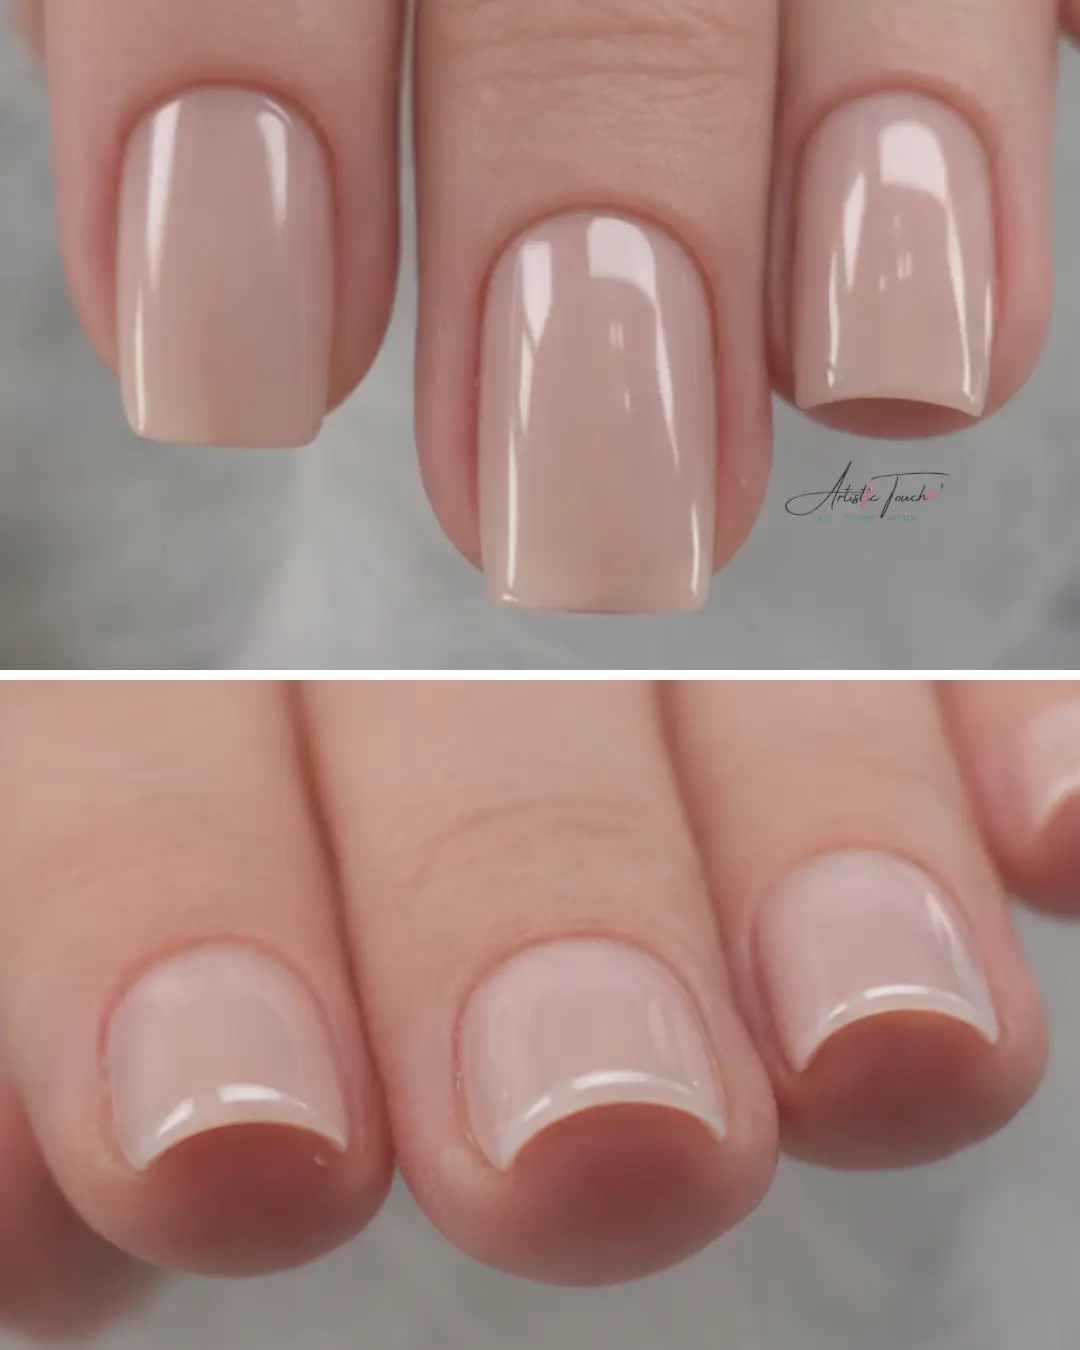
In this session, I am applying BIAB (builder in a bottle) using dual forms onto my client’s natural nails for a strengthening overlay — achieving a clean, structured short square shape without the use of gel colour on top. The client is wearing a cover pink, so the finish is elegant and natural-looking.
I made mistakes in this video, and I show you exactly how I fixed them. That is intentional — because real salon work is not always perfect, and knowing how to correct problems quickly is one of the most important skills a nail technician can develop.
Products and Equipment Used in This Application
Understanding what goes into the service helps you replicate it correctly. Here is what I used during this appointment:
- Acid-free nail primer: Applied first to prepare the nail plate for product adhesion without compromising the nail’s integrity.
- Elastic flexible base coat: Applied in a very thin layer. This type of base coat absorbs shock and stress, which is essential for longevity on natural nails.
- BIAB — Andrea Professional: A thick builder gel in a bottle. I discuss honestly in the video that the viscosity can make working at speed challenging.
- Maincur assorted dual forms — Ready to Go set: My first time using these. One important limitation I discovered: the assorted ready-to-go set contains only one of each size, which makes working both hands simultaneously impossible without waiting for forms to come out of the lamp.
- Flash cure lamp: Used by the client to hold and cure between steps. The sensor caused some confusion during filming, which led to several of the issues you will see in the video.
- Full-size nail lamp: Used for the complete cure after flash curing.
- Small detail brush: Used to move and position the gel inside the dual forms before placement.
- IPA (isopropyl alcohol) and lint-free wipes: Used to remove the inhibition layer after curing. I ran out of lint-free pads during this session — another honest moment I leave in the video.
- E-file and manual nail file: Used for shape refinement, bubble removal, and finishing.
- Cover pink top coat: Applied as the final finish, allowing the nails to be completed without a separate colour gel.
- Wipe solution with oil: Applied after finishing to condition the surrounding skin for photographs. This must be applied after the inhibition layer has been fully removed and must not be transferred onto the nail surface itself.
Step-by-Step: How the Application Worked
Step 1 — Preparation and Priming
The nails were prepared with an acid-free primer followed by a thin elastic base coat. The base coat is not optional — its flexible properties are what protect the natural nail from stress fractures during wear. If you use a rigid base coat beneath a dual form, you are removing one of the key protective benefits of the technique.
Step 2 — Dual Form Sizing
I measure and select all sizes before starting the application, placing them in order on the table. When sizing dual forms, you are looking for full coverage across the growth points, a flush fit at the cuticle area, and a form width that suits the natural nail shape. I check from every angle — side profile, front, and top — before committing to a size.
Pro Tip: Ring Finger and Index Finger Sizing
The ring finger and index finger are almost always the same dual form size. It is very uncommon to need different sizes for those two nails. When working with only one set of assorted forms, this means you can swap between them during application whilst one set is in the lamp — though it does slow your workflow considerably.
Step 3 — Gel Application and Flash Curing
I applied a sufficient amount of BIAB into each dual form using a small detail brush. The gel needs enough volume to cover the full nail plate once the form is pressed into position. After pressing each form onto the prepared nail, the client flash cured using the handheld lamp.
This is where the difficulty began. The flash cure lamp has a sensor, and my client was not familiar with how it operated. Combined with the overhead filming light limiting our movement, she was pressing the lamp in the wrong position — which meant some nails were not curing correctly. This is the kind of challenge that happens in a real salon environment, particularly when you are filming at the same time.
⚠️ Always Check Underneath Before Curing
Before you cure the gel inside the forms, always turn the hand over to check underneath. Remove any excess product or bulkiness from beneath the free edge. I did not do this carefully enough during this session, and it contributed to some of the bubbles and unevenness I had to correct afterwards. The free edge itself should remain — it provides the ideal thickness for the underside structure — but any excess product outside that area must be removed.
Step 4 — Full Cure and Form Removal
Once flash cured, the client placed her hand into the full nail lamp for a complete cure. After curing, I removed all dual forms and immediately wiped the inhibition layer from both the nail surface and the underside of the free edge. This step is important: any remaining inhibition layer will clog your drill bits when you file underneath the nail.
Step 5 — Fixing Bubbles and Correcting Mistakes
Several nails had small bubbles in the gel — a common occurrence when working with builder gel, and particularly when curing conditions are not ideal. To address this, I used a sharp-tipped drill bit to carefully open the bubble, then added a small amount of additional product to fill the area and refined the surface.
One nail had a more significant issue — a bubble large enough to create a void underneath. I filmed a completely separate video for that nail, showing exactly how I resolved it. That level of transparency is what honest nail education looks like.
Struggling with Dual Forms? There Is a Masterclass for That.
If you are unsure how to select the correct dual form size, why your results are coming out uneven, or how to get that thin, smooth, flawless structure you see in the results above — the No-File BIAB Dual Forms Masterclass covers it all in a structured, professional format.
This is the full version of exactly what you are watching in this video — with proper depth, explanation, and the corrections built in from the start.
Step 6 — Shape Refinement
After corrections, I refined the shape using a standard file, working to achieve the Instagram square — a square shape with slightly more emphasised, sharper corners than a soft square. I also added small amounts of additional builder gel to any side walls that had not received even coverage during the initial application, then filed back to a smooth finish.
One thing worth noting from this part of the video: I ripped my glove on my drill bit. This happened because my overhead filming lamp was restricting my normal movement — I could not hold the e-file at the angle I would typically use. If you have equipment around you whilst working, including ring lights or overhead lamps, make sure they are positioned at a height that allows you to move freely. This is not the lamp I use during a regular working day; it is only present when I film.
Step 7 — Cuticle Approach During Dual Form Work
During this appointment, I did not refine the cuticles fully before applying the dual forms. This is a deliberate approach when working with dual form overlays — filing back the cuticle area before product application can cause interference with the ridge removal step that follows. I prefer to carry out any cuticle tidying afterwards, once the structure is in place and refined.
Step 8 — Top Coat and Final Finish
Why I Show You the Mistakes, Not Just the Results
Every educator has a choice. You can show your audience only the polished outcomes — the perfectly cured nails, the flawless finishes, the sessions where everything went to plan. Or you can show them the reality: the rushed appointments, the equipment that behaves differently under filming lights, the moments where you reach for whatever is closest because you have five minutes before your next client arrives.
I choose to show you the reality, because that is what actually prepares you for salon work. If you are training just now, or you have recently started taking clients, I want you to understand something clearly: mistakes happen to every nail technician, at every level. What matters is that you know how to identify them and correct them quickly without panic.
In this video alone, the challenges included an overhead lamp limiting my movement, a client unfamiliar with the flash cure sensor, running out of lint-free pads, ripping a glove on a drill bit, and working with a dual form set that had only one of each size. These are not unusual circumstances. They are a Tuesday.
Honest education means showing you what it actually looks like — and what to do about it.
Frequently Asked Questions About Dual Form Nails on Natural Nails
Do you need to use an elastic base coat for dual form application on natural nails?
Yes. An elastic flexible base coat is essential for this technique on natural nails. Natural nails flex with movement and pressure, and a rigid base coat does not accommodate that movement — which increases the risk of lifting or cracking. The elastic base coat absorbs stress and acts as a protective cushion between the nail plate and the builder gel above it.
Can you use polygel in dual forms instead of BIAB?
Yes, polygel is suitable for use with dual forms. The application approach differs slightly — polygel requires a slip solution and a brush to shape the product within the form before placement — but the overall dual form process remains the same. BIAB and builder gel in bottle formats tend to be easier to work with at speed in a busy salon environment.
What causes bubbles in dual form gel nails?
Bubbles are most commonly caused by air being trapped during gel application or when the form is pressed onto the nail. Working too quickly, using too much product, or not pressing the form evenly onto the nail plate can all introduce air. Inconsistent curing — as happened in this session due to the flash cure lamp being held incorrectly — can also result in areas of gel that have not properly set, leading to voids underneath. Small bubbles are normal and correctable; the key is knowing how to address them once the forms are removed.
How do you fix a bubble in a gel nail after the dual form has been removed?
Use a sharp-tipped drill bit to carefully open the bubble by filing directly into it. Once the void is exposed, add a small amount of builder gel to fill the area, cure fully, then file back to a smooth surface and blend. For larger bubbles or structural voids, it may be necessary to remove a more significant portion of the product in that area before rebuilding.
Why do my dual forms not fit evenly across both hands?
In most cases, clients have slightly different nail widths across their two hands — this is completely normal. The ring finger and index finger are typically the same size, and the middle finger is usually the widest. When using an assorted ready-to-go set with only one of each size, you will need to wait for each form to be removed before reusing it on the second hand. For busy salons, purchasing multiple boxes of the same dual form set is the more practical option.
Why is it important to remove the inhibition layer from underneath the nail after dual form removal?
The inhibition layer — the sticky, uncured surface left on gel after curing — remains underneath the free edge after dual form removal. If this is not removed before you file the underside of the nail, it will transfer onto and clog your drill bits. Always wipe the surface of the nail and the underside of the free edge with IPA and a lint-free wipe immediately after removing the forms.
Should you do the cuticle work before or after applying dual forms?
For dual form overlay work, it is preferable to carry out detailed cuticle tidying after the product has been applied and the shape has been refined. Filing or removing the cuticle area before dual form placement can cause interference with the ridge removal step near the cuticle zone during finishing. Cleaning the cuticles beforehand is appropriate, but leaving the precise tidying until after the structural work is complete typically produces a neater result.
Ready to Master Dual Forms Properly?
The No-File BIAB Dual Forms Masterclass covers the full Instagram square nail application in depth — form selection, gel placement, structure, shape refinement, and finish. This is proper, structured professional education, not a YouTube highlight reel.
View the No-File BIAB Dual Forms Masterclass →About the Author
Radina Ignatova
Professional Nail Expert | International Nail Educator
I am Radina Ignatova, a Professional Nail Expert since 2014 and International Nail Educator, based in Scotland, UK. I am the Founder of Artistic Touch Nail Training Academy and TheNailWiki.
At Artistic Touch Nail Training Academy, I provide structured professional online nail courses specialising in dual forms, gel systems, polygel application, advanced nail structure, e-file work and Russian manicure, with a strong focus on professional salon safety. I continue to work actively in salon practice, ensuring that all education reflects real client scenarios and current industry standards.
My teaching philosophy is simple: I show real salon challenges, real mistakes and real performance testing, not just perfect demonstrations. This is how you develop genuine technical competence and become a confident, capable nail professional.
Every Artistic Touch course includes lifetime access, a certificate of completion and access to a dedicated student support group, where I provide ongoing guidance and professional feedback.
Disclaimer: This content is for educational purposes only. Nail services should be performed by trained professionals following current hygiene and safety regulations. Always carry out a full client consultation and check for contraindications before performing any nail service.
About Artistic Touch Nail Training Academy
Artistic Touch Nail Training Academy delivers structured professional online nail education focused on practical skill development, professional standards and safe salon practice. All courses are available online worldwide.